


Baby Monitor - Monitoring your baby
Monitoring your baby with mobile phones, tablets or computers.


Introduction
I have an 10 month old baby and we traveled to a country town without the baby monitor this summer vacation.
As I have an old mobile phone that I take with me on trips for my oldest daughter to watch movies, I decided to create an application to monitor my baby's sleep and participate in the AWS Amplify x Hashnode Hackathon.
About
Baby Monitor is an open source, simple, easy-to-use and responsive WEB application that can be used on mobile phones, tablets and computers.
The main idea is to connect two devices as if they were in a video conference, capturing the video on one device and displaying the video on another device.
Below you will see the screens and features of the application.
Home
The Single Page Application (SPA) concept was used with loading and scrolling animations on the home screen of the WEB application, it was also made responsive to any screen size.
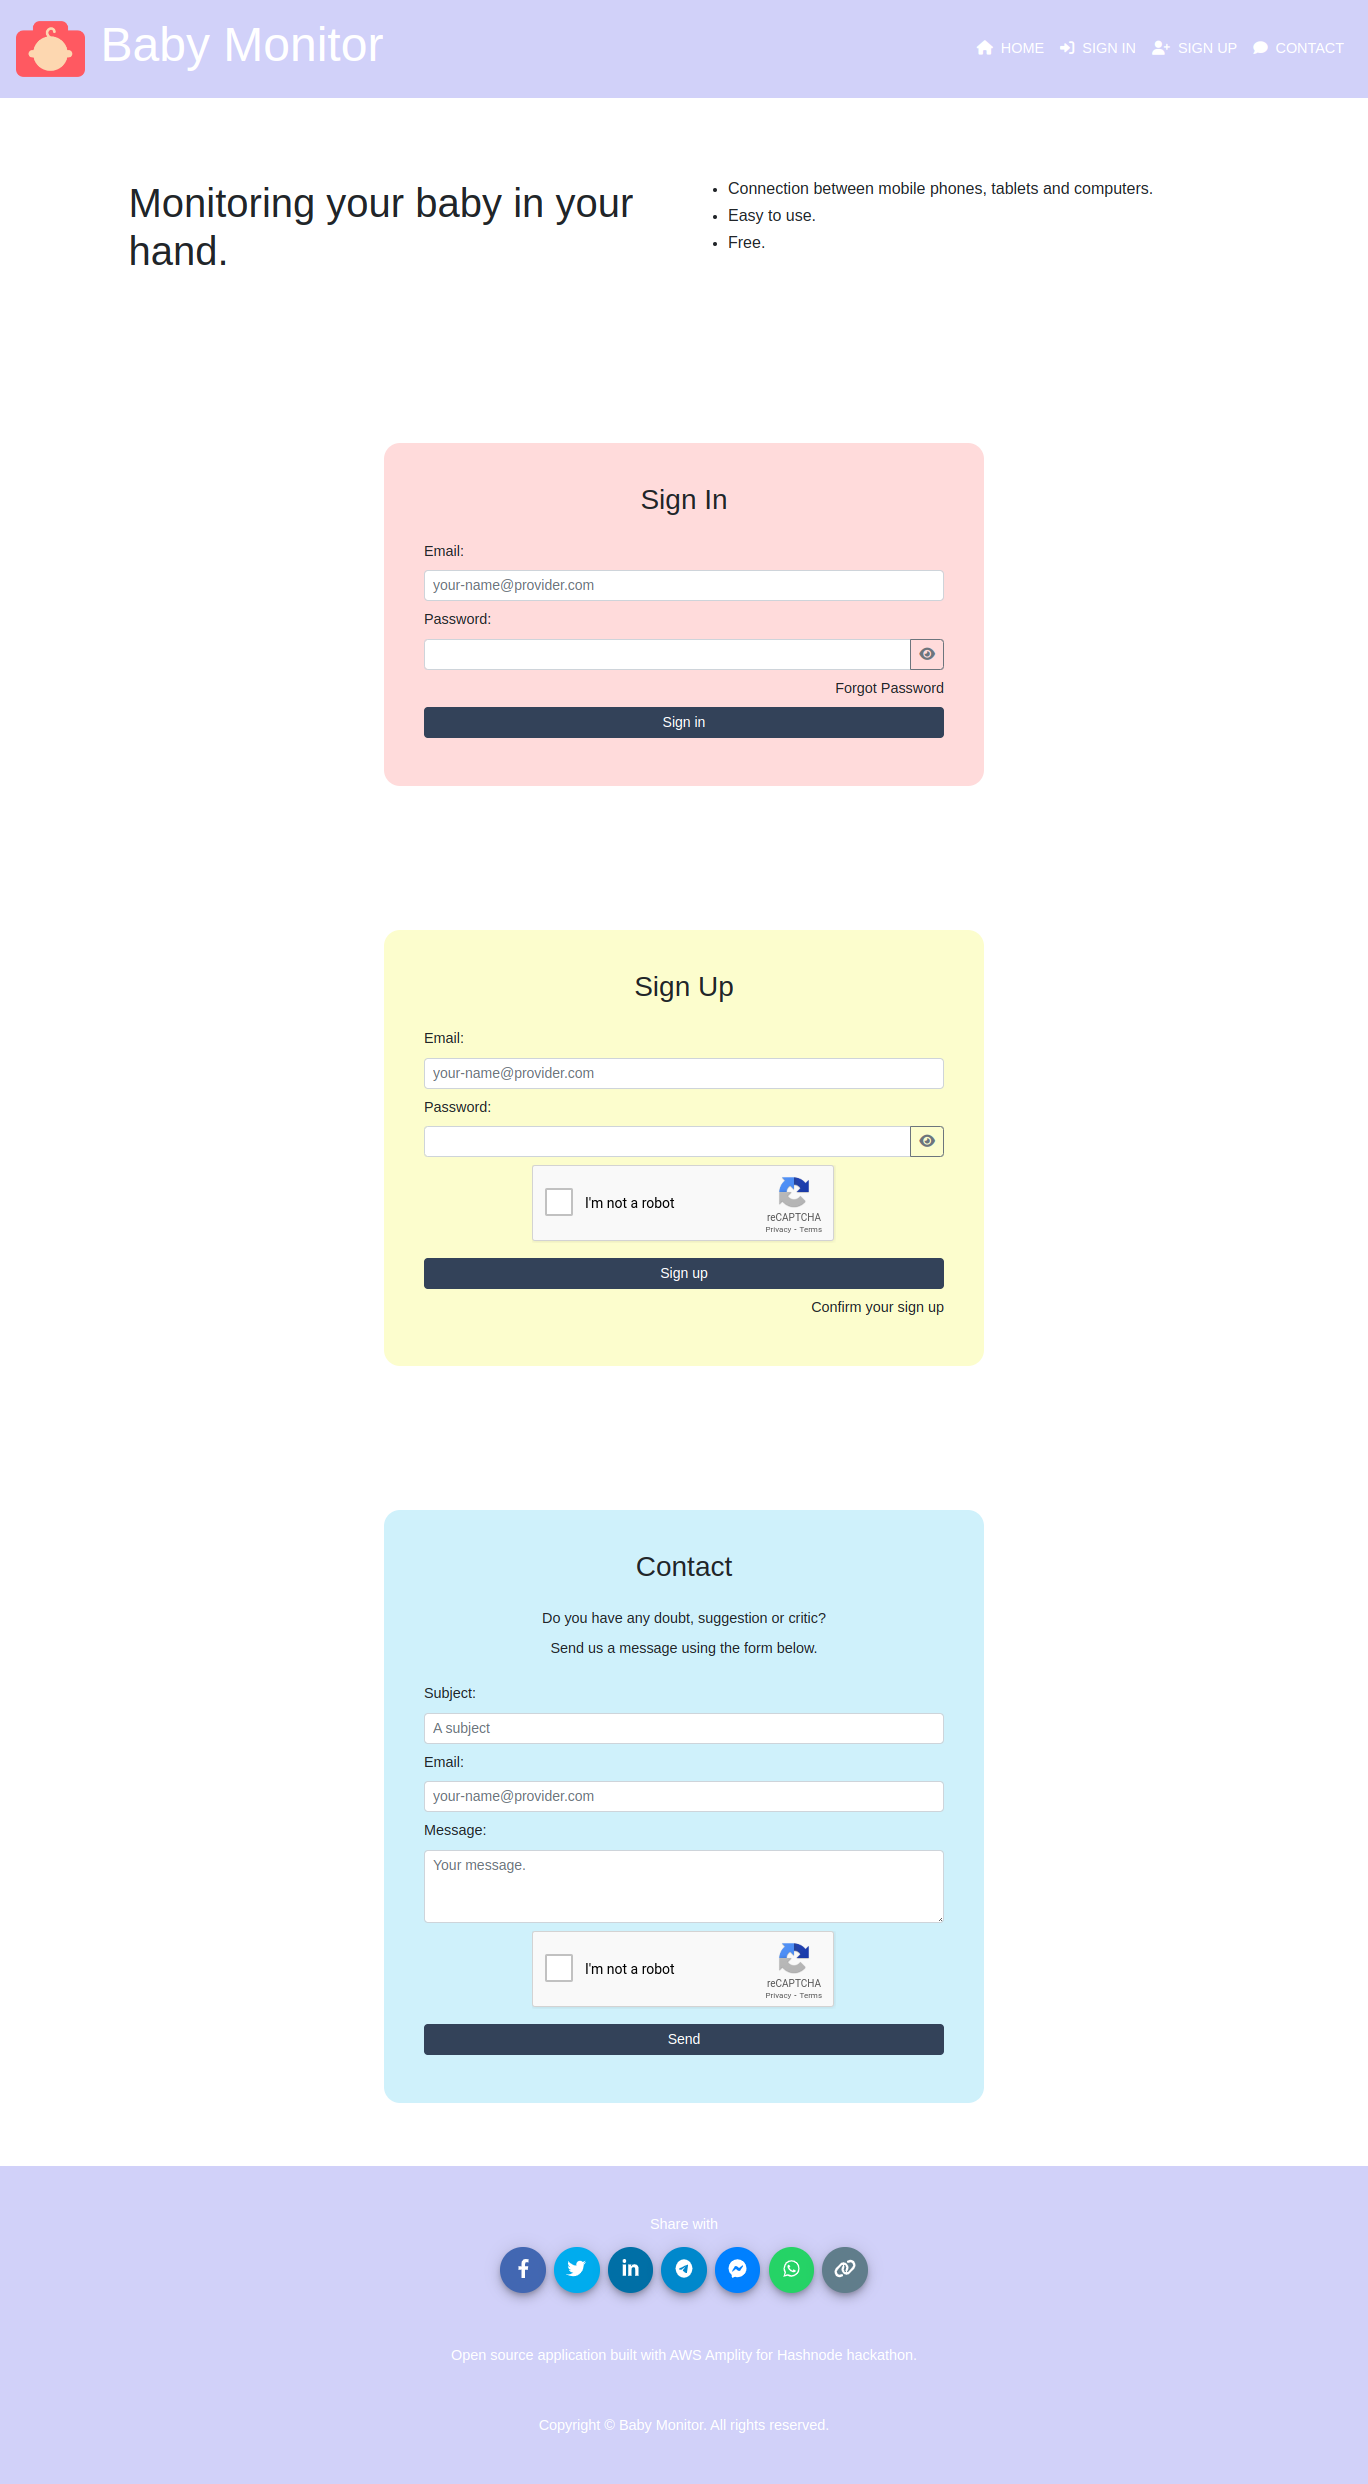
Below will be the initial screen displayed on the mobile browser and on the computer browser.
Mobile browser

Computer browser
How to use the application?
A step by step of how to use the application will be presented below.
1. Let's create the account. We will access the application https://main.d3kt2qzz9h4evw.amplifyapp.com/ and scroll down to Sign Up session.
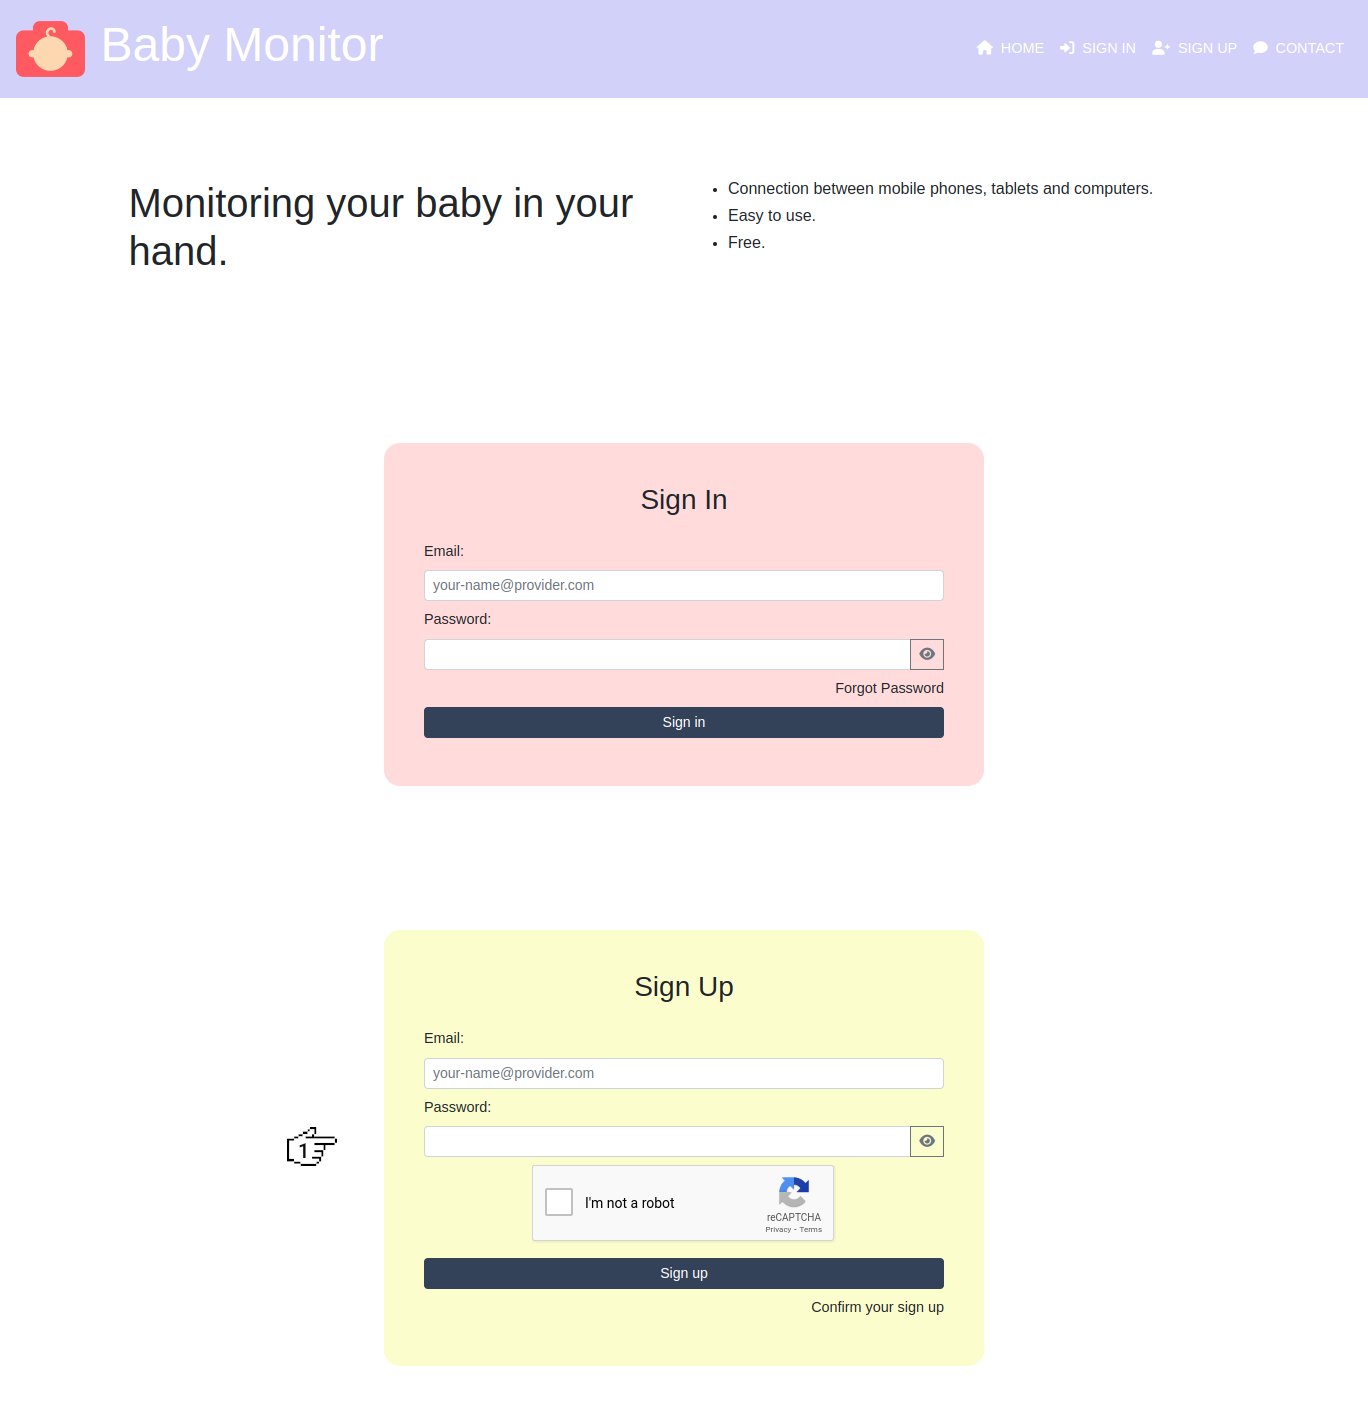
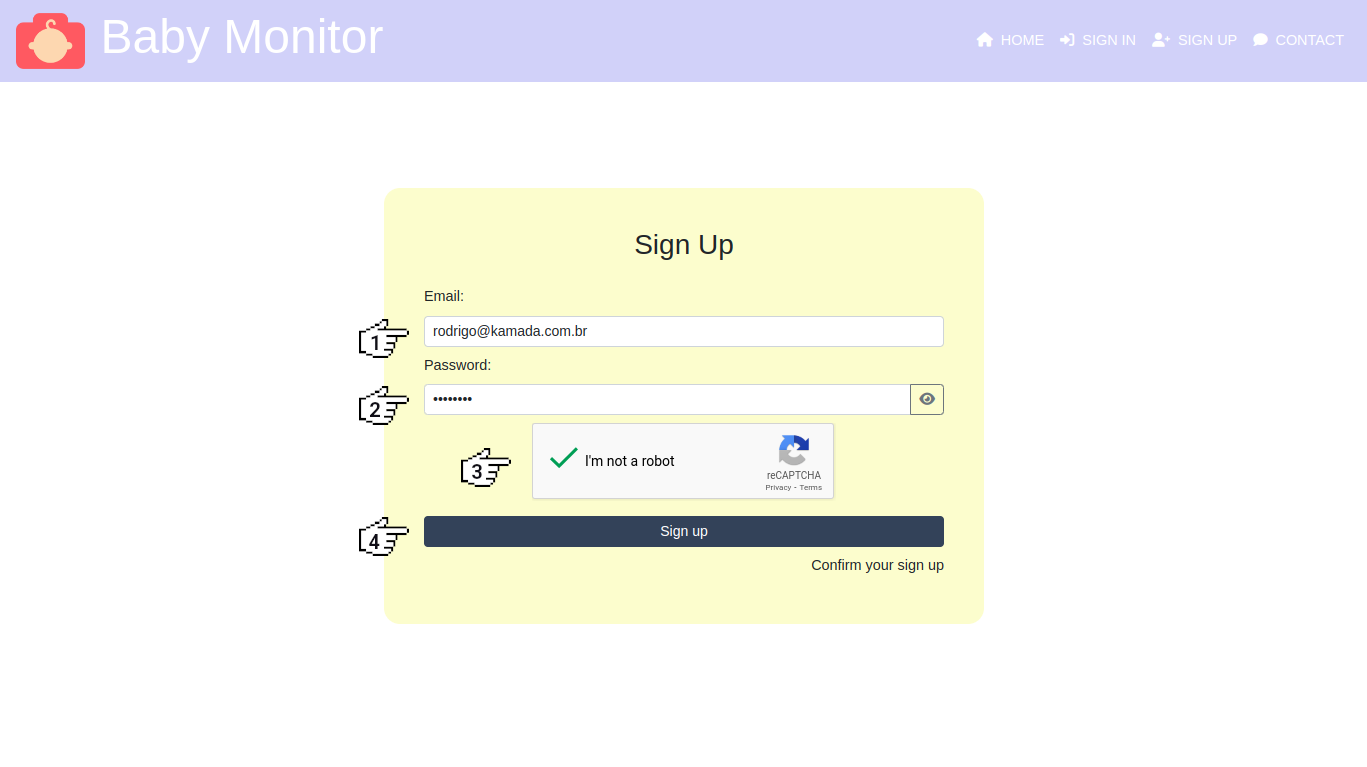
2. Now we will fill in the fields Email, Password, click on the option I'm not a robot and click on the button Sign up.
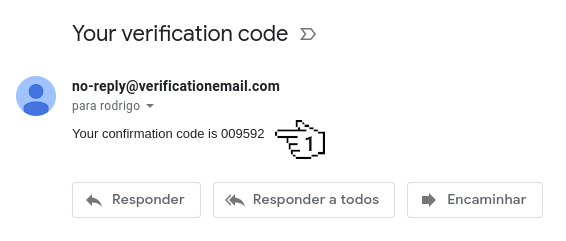
3. After create the account, we will copy the code in the email sent.
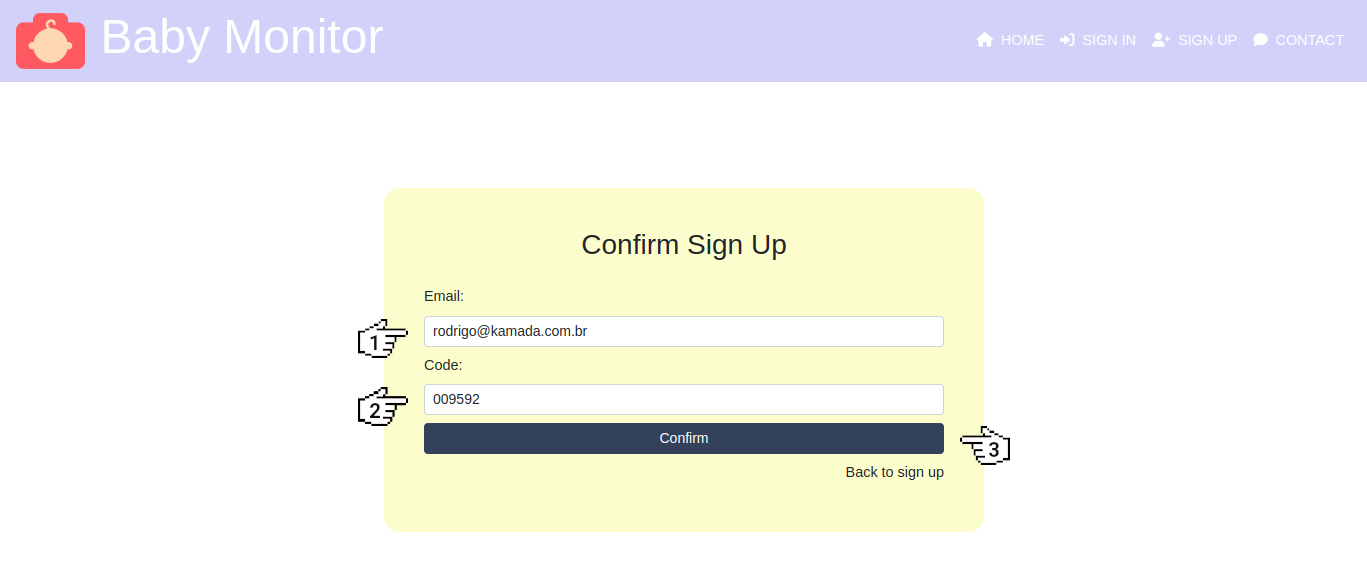
4. Now we will fill in the fields Email, Code and click on the button Confirm.
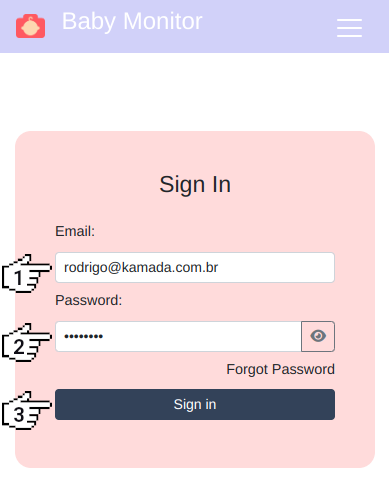
5. After confirm the account creation, we will scroll up to the Sign In session, fill in the fields Email, Password and click on the button Sign in.

6. Now we will click on the link Click here or on the button Create to create a monitor.

7. Next, we will fill in the field Name and click on the button Save.

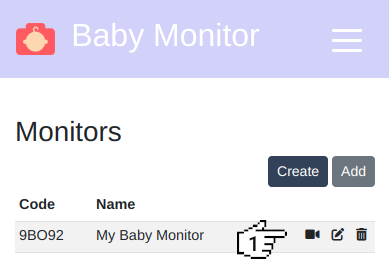
8. After create the monitor, we will click on the camera icon to connect with a device.

9. Now we will wait for access on a new device.

10. Now we will access the application https://main.d3kt2qzz9h4evw.amplifyapp.com/ on a new device and sign in with the same email and password.
11. After access the application, we will click on the camera icon to connect with the device that is waiting.
12. Now we will check the connected devices e I'm using a computer and a mobile phone.
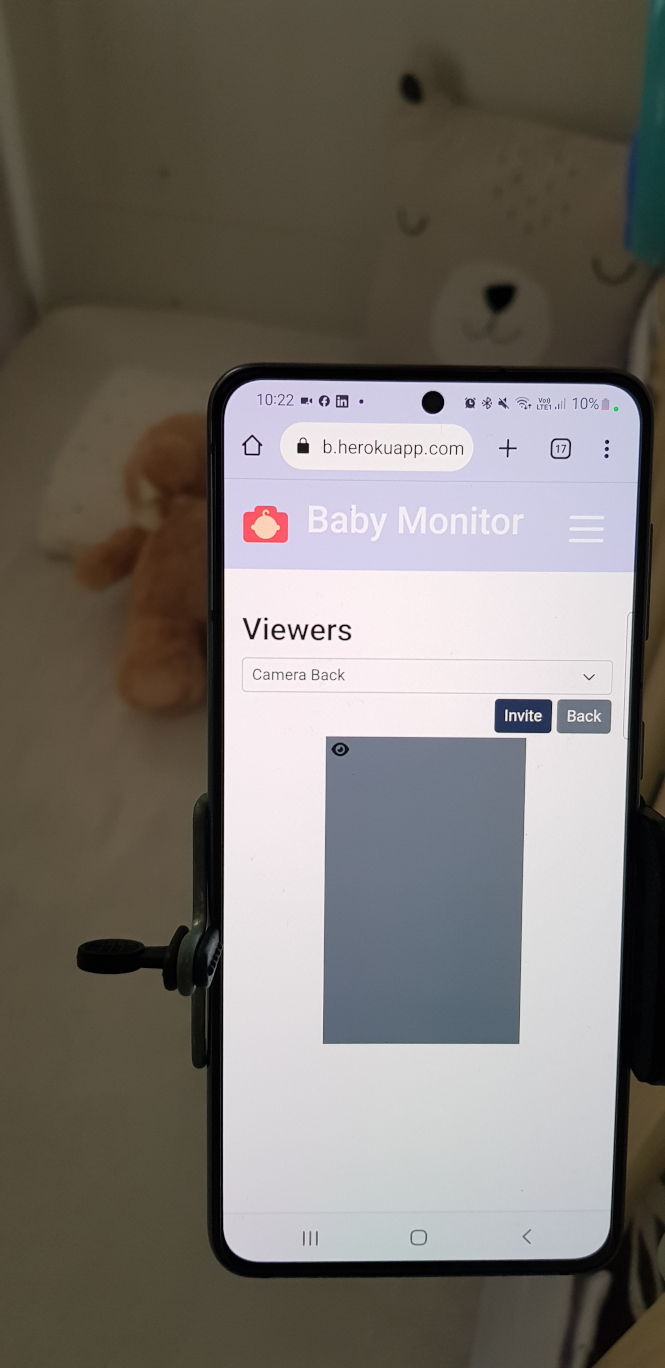
12.1. Mobile phone connected. If you want, you can hide the video.
12.2. Computer connected.

13. Ready! The application was presented step by step.
Technologies
I used the most modern technologies to build the WEB client and API server applications. Below are the programming languages, libraries, frameworks, tools and services that were used to build the applications separated by category.
WEB Client:
- Angular 14: Development platform for building WEB, mobile and desktop applications using HTML, CSS and TypeScript (JavaScript).
- Bootstrap 5: Open source CSS framework with many components for building responsive WEB interfaces.
- Font Awesome 6: A font and icon toolkit based on CSS and Less.
- @ngneat/transloco: Allows you to define translations for your content in different languages and switch between them easily in runtime.
- ngx-spinner and load-awesome: Libraries with more than 50 different loading spinners.
- ngx-toastr: Provides an option to add HTML code inside the toast message.
- aos: Library to animate elements on your page as you scroll.
- qrcode: Library for generating QR Code images.
- ngx-sharebuttons: Library with social media share buttons.
API Server:
- Node.js 16: Software based on Google's V8 interpreter that allows the execution of JavaScript code outside of a WEB browser.
- Express: Minimal and flexible Node.js WEB application framework that provides a robust set of features for web and mobile applications.
- cors: Middleware for Express to enable CORS.
- helmet: Library for securing Express applications using HTTP headers.
- aws-amplify: Library provides the Amplify DataStore integration features.
- winston and express-winston: Simple and universal logging library.
Commons:
- TypeScript: Strongly typed programming language that builds on JavaScript.
- ESLint: Open source project that helps you find and fix problems in your JavaScript code.
- Socket.IO: Event-driven library for real-time WEB applications.
- WebRTC: Real-time communication capabilities to your application that works on top of an open standard.
Tools:
- Visual Studio Code: Code editor redefined and optimized for building and debugging modern web and cloud applications.
- git: Free and open source distributed version control system designed to handle everything from small to very large projects with speed and efficiency.
- npm: Package manager for Node.js.
- Amplify CLI: The command line interface (CLI) is a unified toolchain to create, integrate, and manage the AWS cloud services for your app..
Services:
- AWS Amplify Studio: Extend AWS Amplify with a visual interface, and go from design to feature-rich, full-stack apps faster.
- AWS Amplify Hosting: Fast, secure, and reliable hosting for modern web apps.
- Amazon Cognito: Simple and secure authentication service that supports user sign in, sign up and control in a WEB or mobile application.
- Amazon EC2: Secure and resizable compute capacity for virtually any workload.
- Google reCAPTCHA: Security service that protects your websites from fraud and abuse.
- GitHub: Hosting platform of source code and files with version control using git.
Data Models:
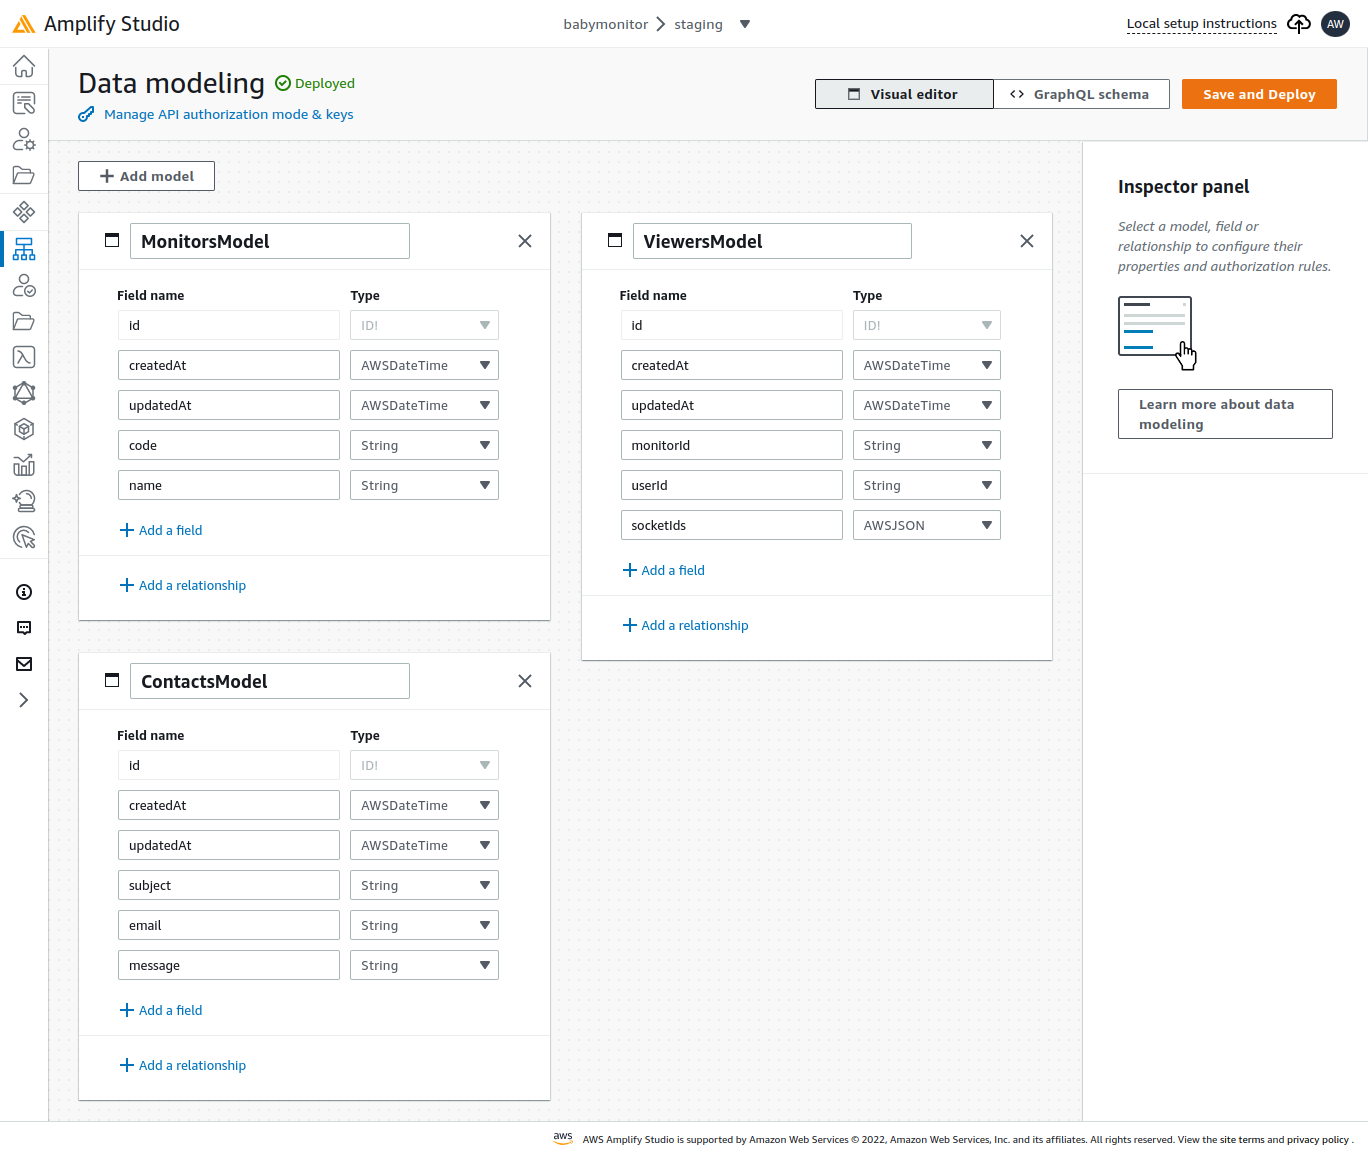
Models description:
monitors: Table with monitors to share with a viewer.
| Name | Type | Description |
| id | ID! | Record identifier in UUID format. |
| createdAt | AWSDateTime | Date and time of record creation. |
| updatedAt | AWSDateTime | Date and time of the last record update. |
| code | String | Alphanumeric monitor code with 5 characters. |
| name | String | Monitor name. |
viewers: Viewer relationship table with monitor.
| Name | Type | Description |
| id | ID! | Record identifier in UUID format. |
| createdAt | AWSDateTime | Date and time of record creation. |
| updatedAt | AWSDateTime | Date and time of the last record update. |
| monitorId | String | Record identifier from monitors table. |
| userId | String | User identifier in the Amazon Cognito service. |
| socketIds | AWSJSON | Socket identifiers. |
contacts: Table with the contacts sent by the form on the Home screen. Columns:
| Name | Type | Description |
| id | ID! | Record identifier in UUID format. |
| createdAt | AWSDateTime | Date and time of record creation. |
| updatedAt | AWSDateTime | Date and time of the last record update. |
| subject | String | Contact subject. |
| String | Contact email. | |
| message | String | Contact message. |
Data contents:

Best Practices
The best development and architecture practices were used to build the WEB and server applications.
Next, some of them will be presented.
Lint
ESLint was used to help find potential problems in JavaScript/TypeScript code in both applications.
Next, the execution of ESLint in applications will be presented.
WEB Client: The @angular-eslint/schematics dependency was used and the rules were configured in .eslintrc.json file inside the frontend directory.
npm run lint

> babymonitor@1.0.0 lint /home/rodrigokamada/babymonitor/frontend
> ng lint


Linting "babymonitor"...

All files pass linting.
API Server: The eslint dependency was used and the rules were configured in the .eslintrc.json file inside the backend directory.
npm run lint

> babymonitor@1.0.0 lint /home/rodrigokamada/babymonitor/backend
> eslint 'src/**/*'
Security
In the web client application, the Amazon Cognito service was used to implement authentication and user control and Route Guard was used to implement access control for authenticated users.
In the server API application, an Express middleware was implemented to control access to the endpoints using the HTTP authorization header and the helmet dependency was used to implement the protection of some vulnerabilities.
REST
In the server API application, the concepts and fundamentals of REST (Representational State Transfer) were implemented, where the verbs, HTTP methods and version were used to define the resources and operations.
Next, the monitor's resources will be presented.
- Create a monitor:
POST /v1/monitors
- Update a monitor:
PUT /v1/monitors/:id
- Remove a monitor:
DELETE /v1/monitors/:id
- Get the monitors:
GET /v1/monitors
- Get a monitor:
GET /v1/monitors/:id
Log
In the server API application, the logs were added to generate important information about the application execution.
Next, a log line with socket connection information.
2022-09-26T23:50:08.609983+00:00 app[web.1]: info: Socket id [j0qMtcQzC04U99jMAAAJ] connected
Next Steps
Some features will be implemented in the future, such as:
- Support for multiple devices connected simultaneously.
- Implement social login like Facebook, Google and GitHub.
- Add the PWA (Progressive Web App).
- Build a native mobile application for Android and iOS.
- Support for other languages.
Conclusion
This application can be useful for parents to monitor their children or to share some video. Sign up and try it now.
The open source application is available on GitHub.
Thank you for reading and I hope you enjoyed the article!
To stay updated whenever I post new articles, follow me on Twitter and LinkedIn.