Hosting an Angular application on GitHub Pages using GitHub Actions
Application example built with Angular 15 and hosted on GitHub Pages using GitHub Actions.
Introduction
Angular is a development platform for building WEB, mobile and desktop applications using HTML, CSS and TypeScript (JavaScript). Currently, Angular is at version 15 and Google is the main maintainer of the project.
GitHub is a source code and file storage service with version control using git tool. GitHub Pages is a static file hosting service using a public repository. GitHub Actions is a service to automate the software workflow.
Prerequisites
Before you start, you need to install and configure the tools:
IDE (e.g. Visual Studio Code)
Getting started
Create and configure the account on the GitHub
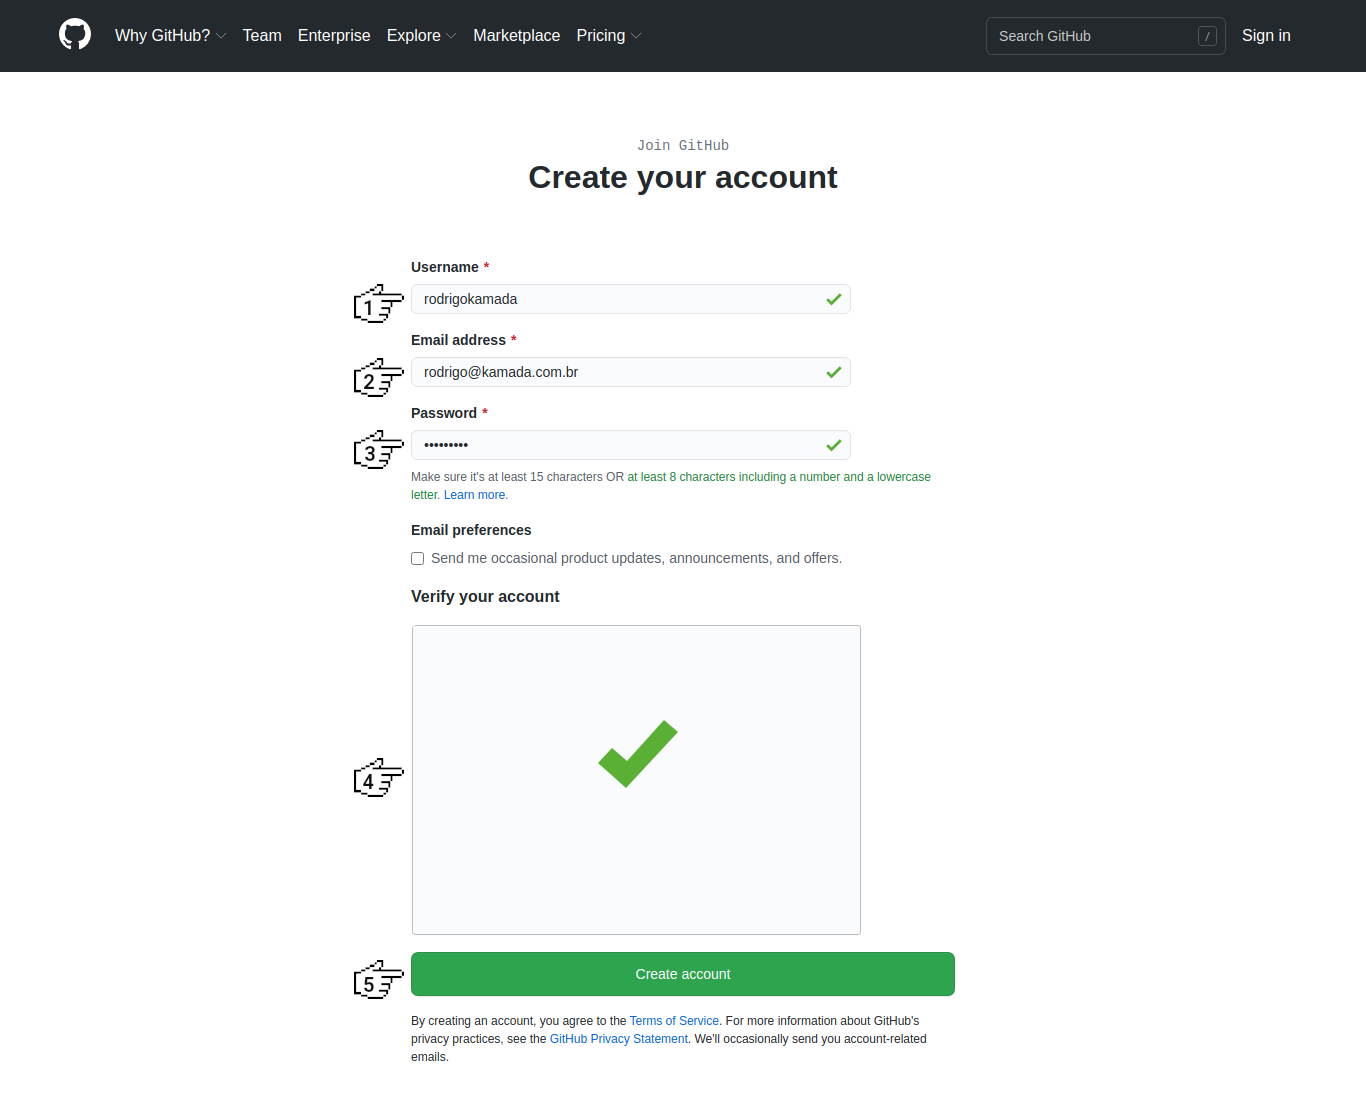
1. Let's create the account. Access the site https://github.com/ and click on the button Sign up.

2. Fill in the fields Username, Email address, Password, click on the button Verify to solve the challenge and click on the button Create account.
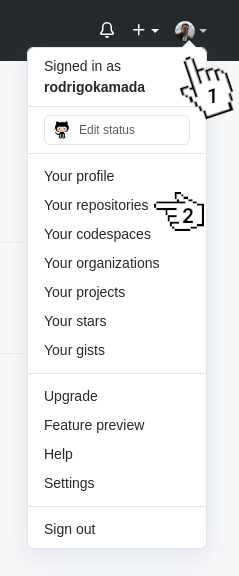
3. Let's create the repository. Click on the menu with the avatar and click on the menu Your repositories.
4. Click on the button New.

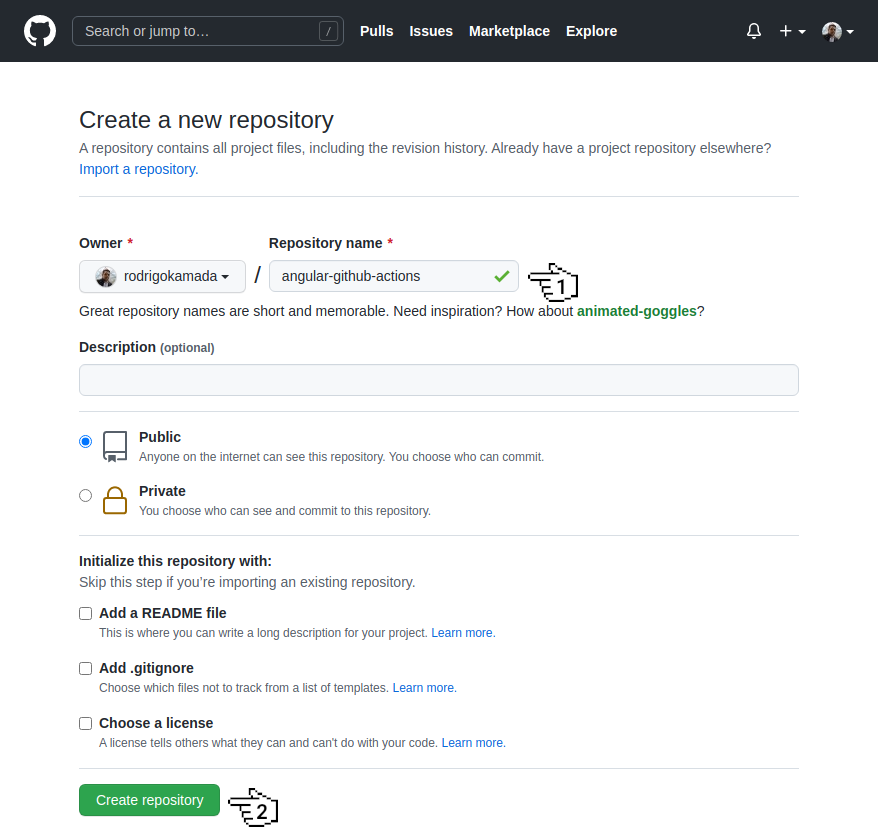
5. Fill in the field Repository name and click on the button Create repository.
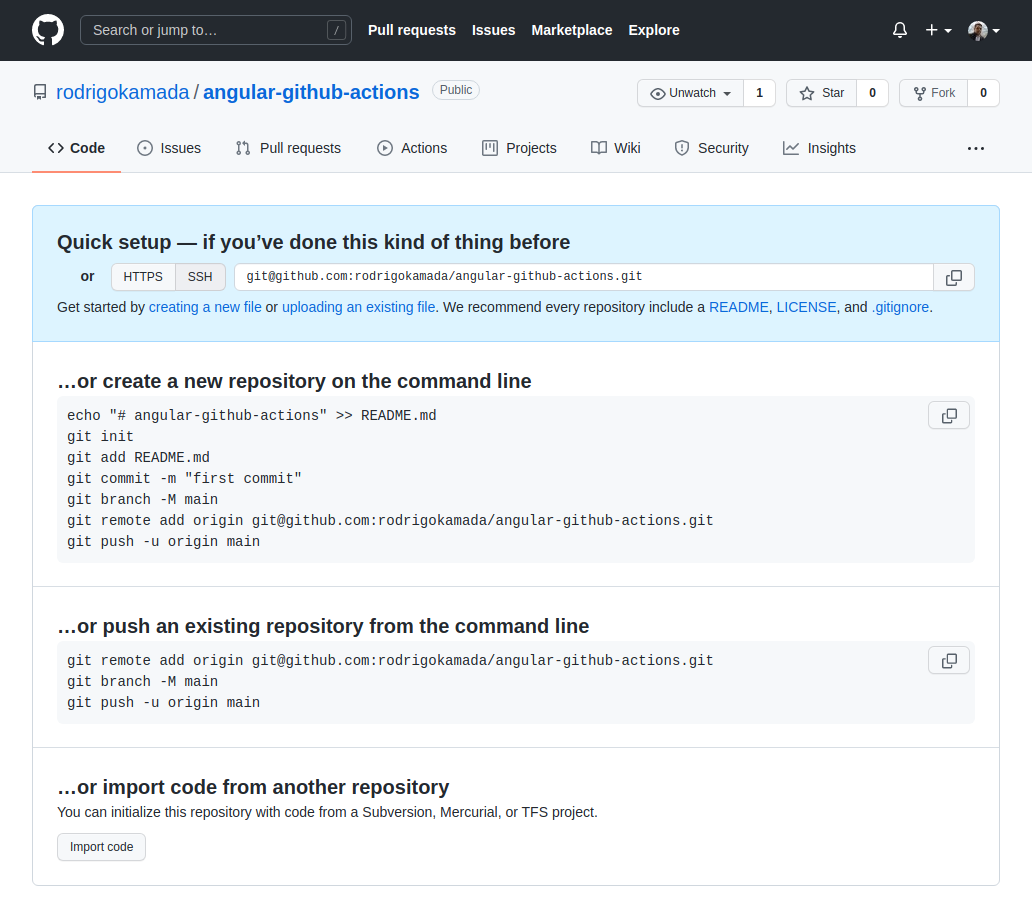
6. Ready! Account created and repository https://github.com/rodrigokamada/angular-github-actions created.
Create the Angular application
1. Let's create the application with the Angular base structure using the @angular/cli with the route file and the SCSS style format.
2. Change the package.json file and add the scripts below. Replace the rodrigokamada value with your GitHub username.
3. Run the test with the command below.
4. Run the application with the command below. Access the URL http://localhost:4200/ and check if the application is working.
5. Build the application with the command below.
6. Let's create and configure the file with the GitHub Actions flow. Create the .github/workflows/gh-pages.yml file.
7. Configure the .github/workflows/gh-pages.yml file with the content below.
Note:
- The documentation for the configuration file is available at https://docs.github.com/en/actions/reference/workflow-syntax-for-github-actions.
8. Syncronize the application on the GitHub repository that was created.

9. Ready! After synchronizing the application on the GitHub repository, the GitHub Actions build the application and synchronize on the branch gh-pages. Access the URL https://rodrigokamada.github.io/angular-github-actions/ and check if the application is working. Replace the rodrigokamada value with your GitHub username.
Validate the run of the GitHub Actions flow
1. Let's validate the run of the GitHub Actions flow. Access the repository https://github.com/rodrigokamada/angular-github-actions created and click on the link Actions.
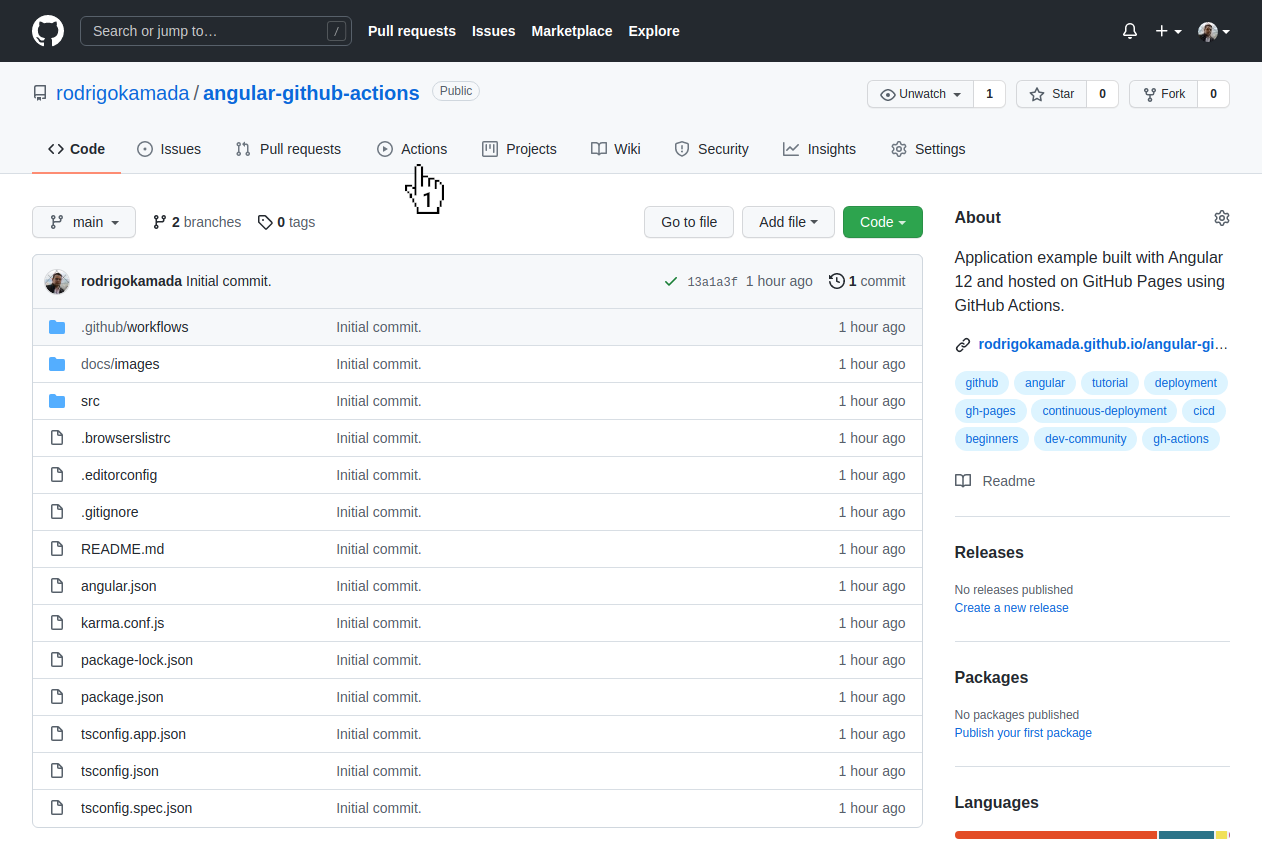
2. Click on the flow runned.
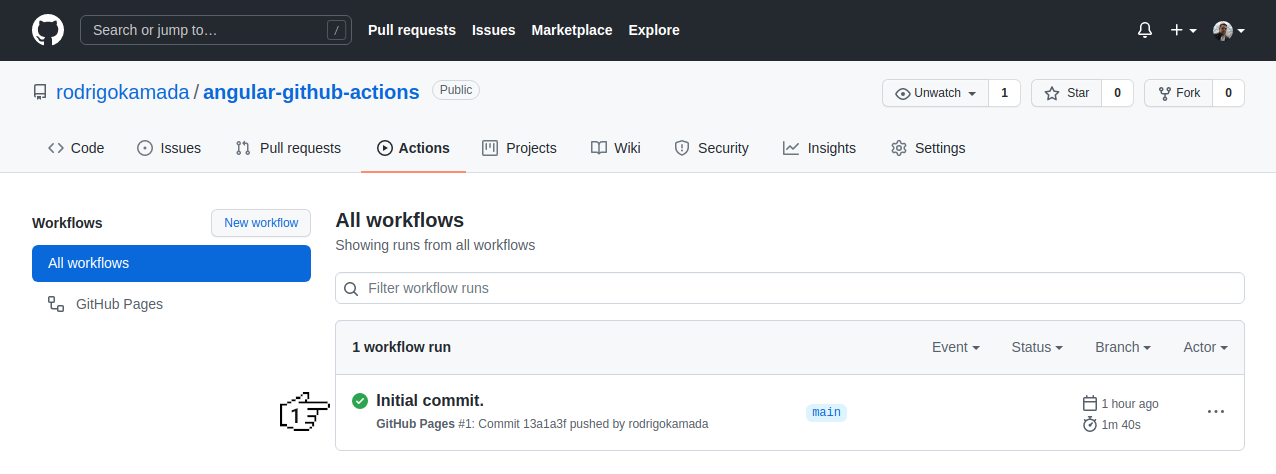
3. Click on the job deploy.
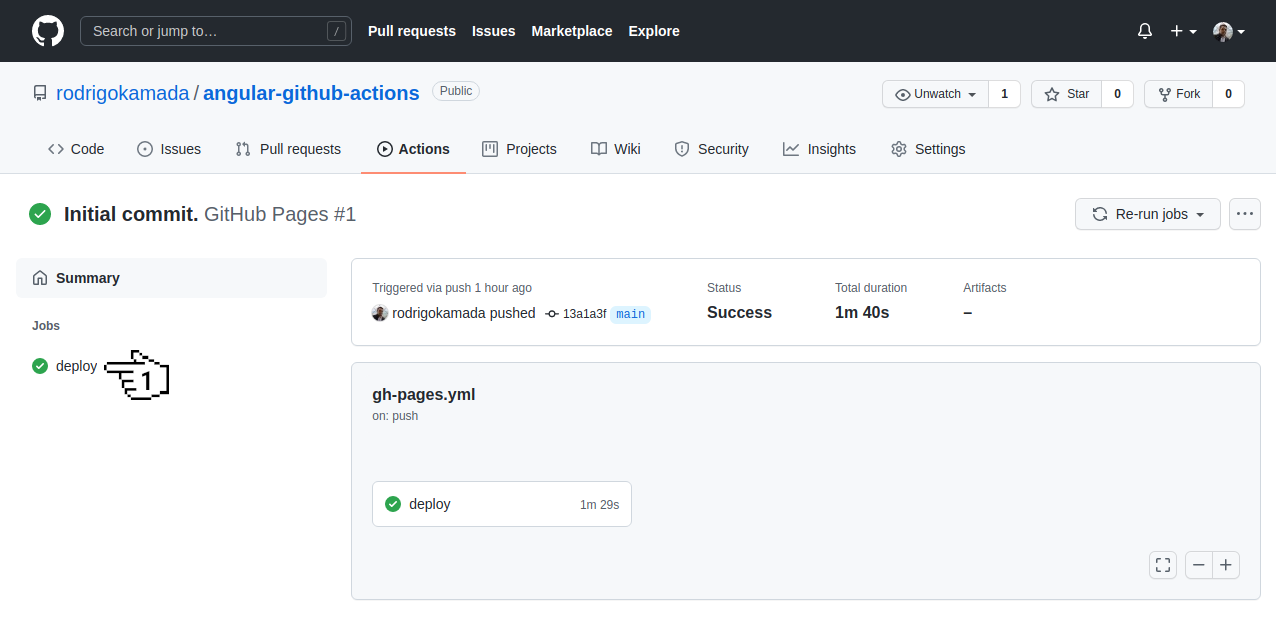
4. Click on each step to validate the run.

5. Ready! We validate the run of the GitHub Actions flow.
Validate the publish of the GitHub Pages
1. Let's validate the publish of the GitHub Pages. Access the repository https://github.com/rodrigokamada/angular-github-actions created and click on the link Settings.
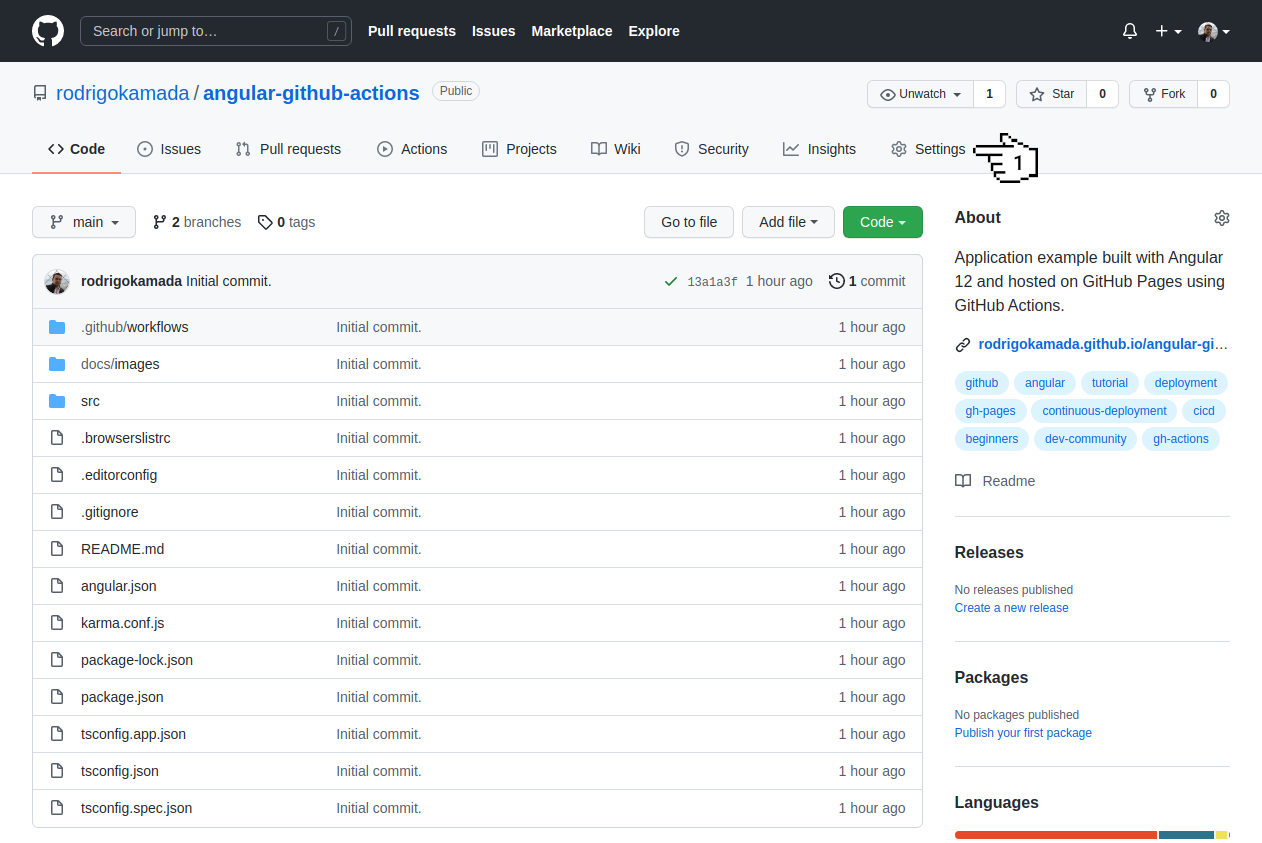
2. Click on the menu Pages.
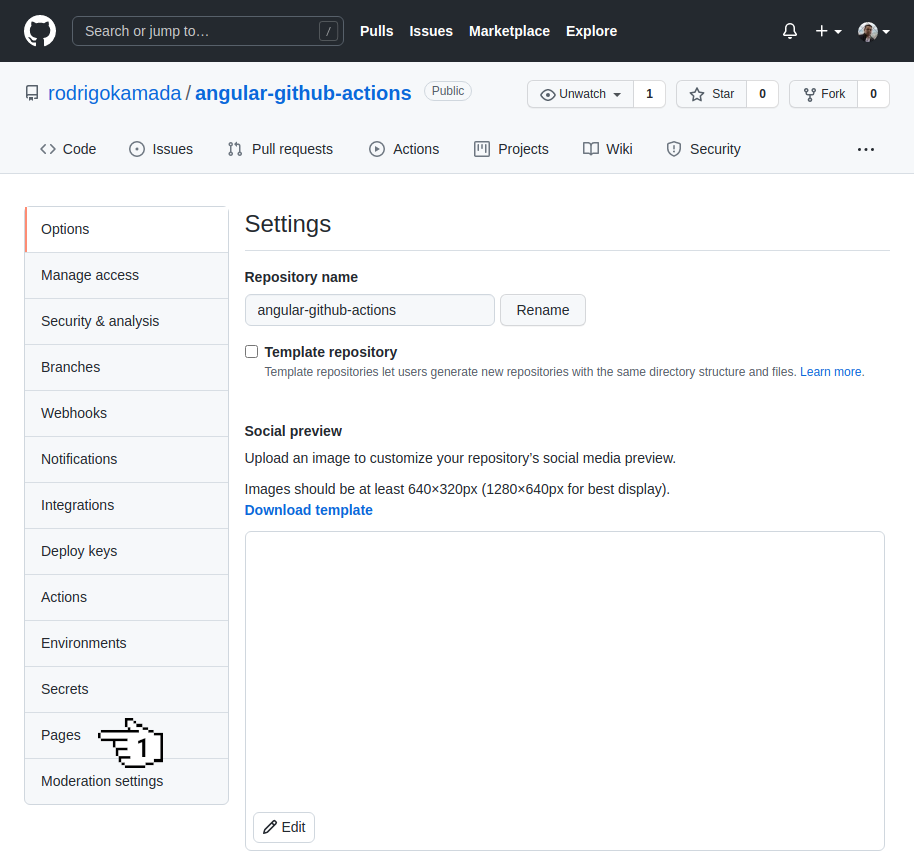
3. The message Your site is published at rodrigokamada.github.io/angular-github-acti.. should be displayed.

4. Ready! We validate the publish of the GitHub Pages.
The application repository is available at https://github.com/rodrigokamada/angular-github-actions.
This tutorial was posted on my blog in portuguese.
