Adding the map TomTom component to an Angular application
Application example built with Angular 13 and adding the map component using the @tomtom-international/web-sdk-maps library.

👨💻 Software Developer | ✍️ Technical Content Creator | 🤝 Open Source Contributor | 🎙️ Speaker | 👨🏫 Mentor | 🙌 Ambassador | ☁️ AWS Community Builder
Introduction
Angular is a development platform for building WEB, mobile and desktop applications using HTML, CSS and TypeScript (JavaScript). Currently, Angular is at version 13 and Google is the main maintainer of the project.
@tomtom-international/web-sdk-maps is a library that hides the complexity of integration with TomTom services, boosting the productivity with fully styleable and easily customized components.
Prerequisites
Before you start, you need to install and configure the tools:
- git
- Node.js and npm
- Angular CLI
- IDE (e.g. Visual Studio Code)
Getting started
Create and configure the account on the TomTom
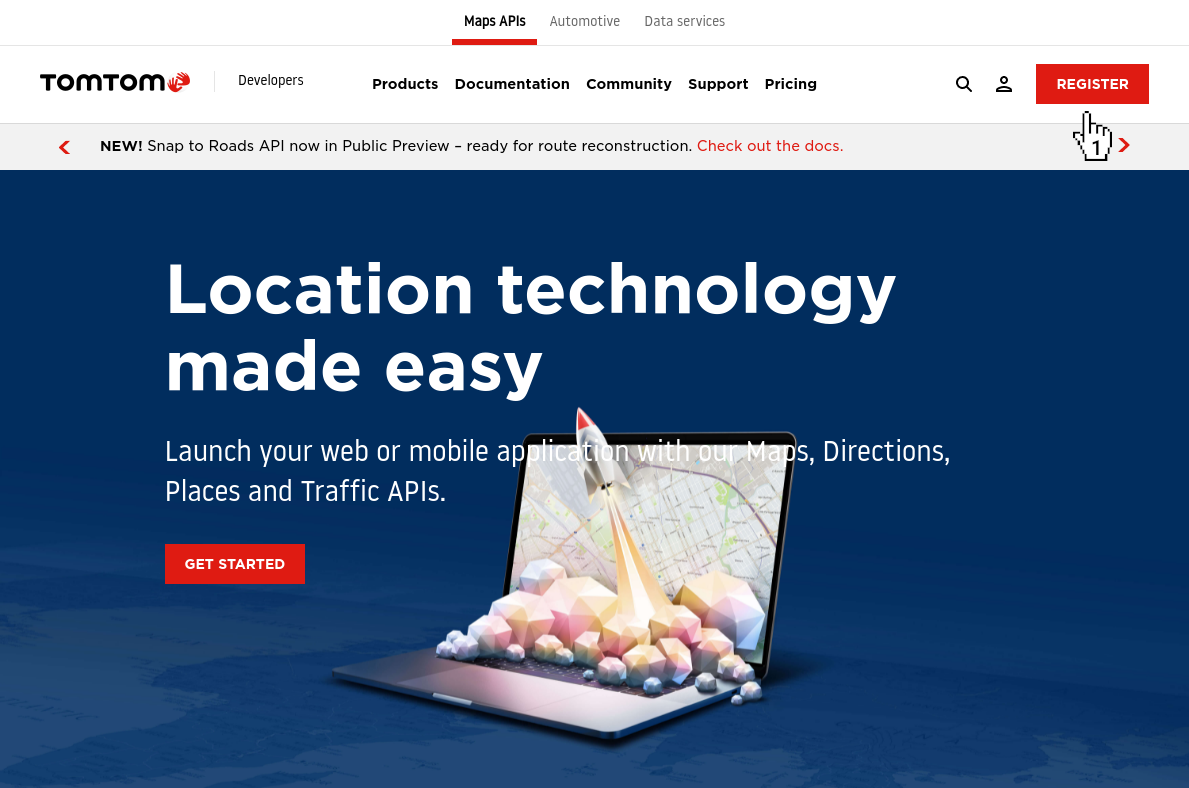
1. Let's create the account. Access the site https://www.tomtom.com/, click on the menu Developers and click on the submenu Developer portal.

2. Click on the button REGISTER.
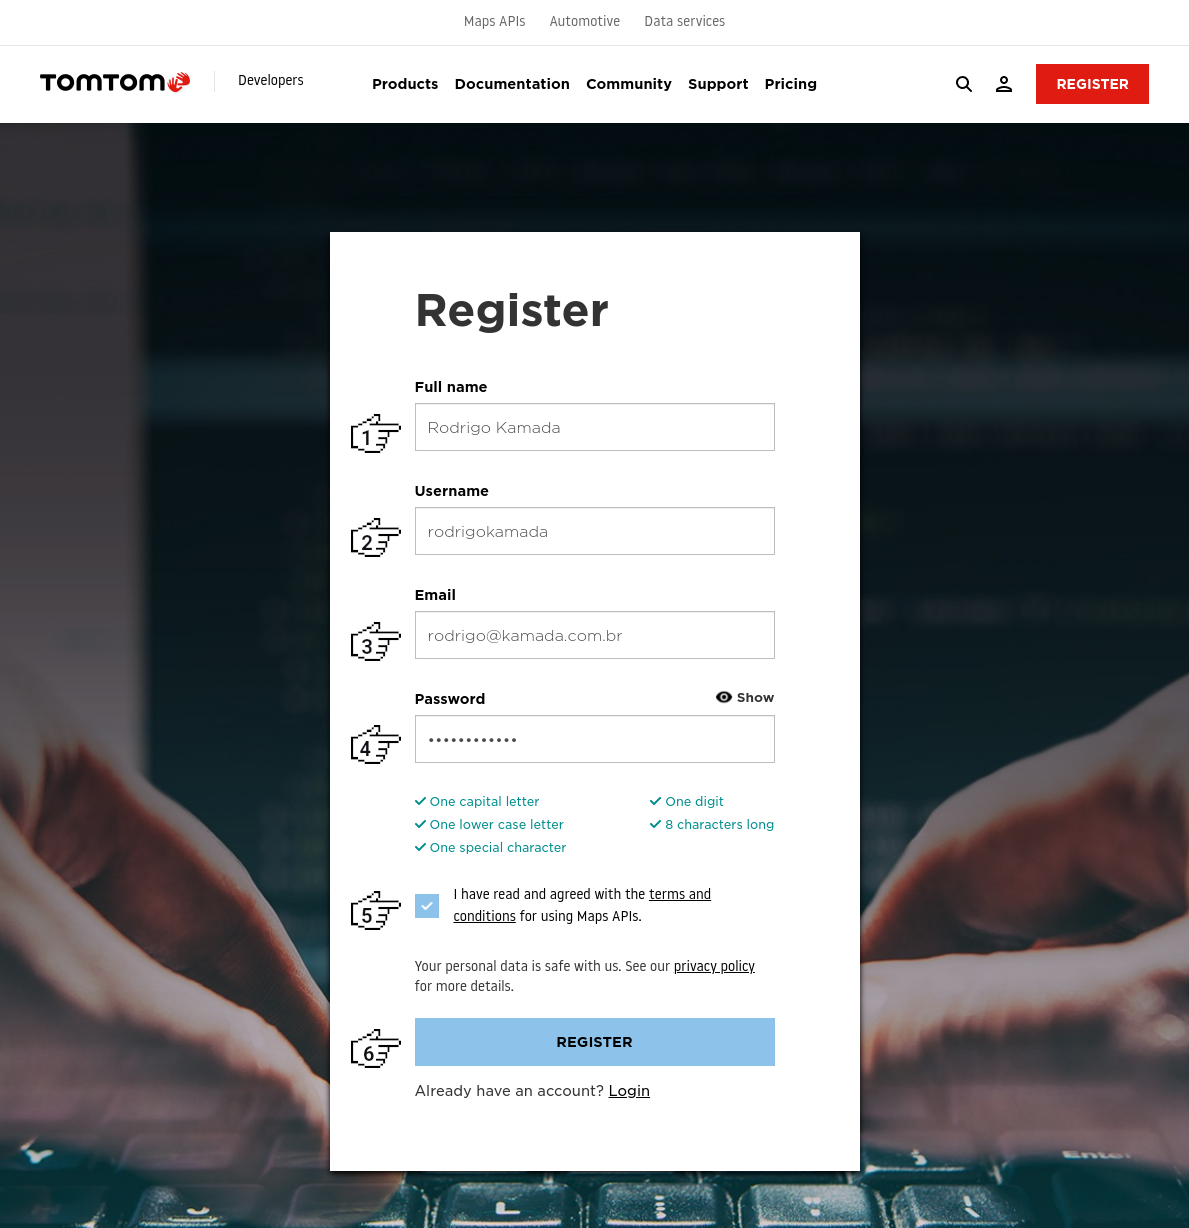
3. Fill in the fields Full name, Username, Email, Password, click on the checkbox I have read and agreed with the terms and conditions for using Maps APIs. and click on the button REGISTER.
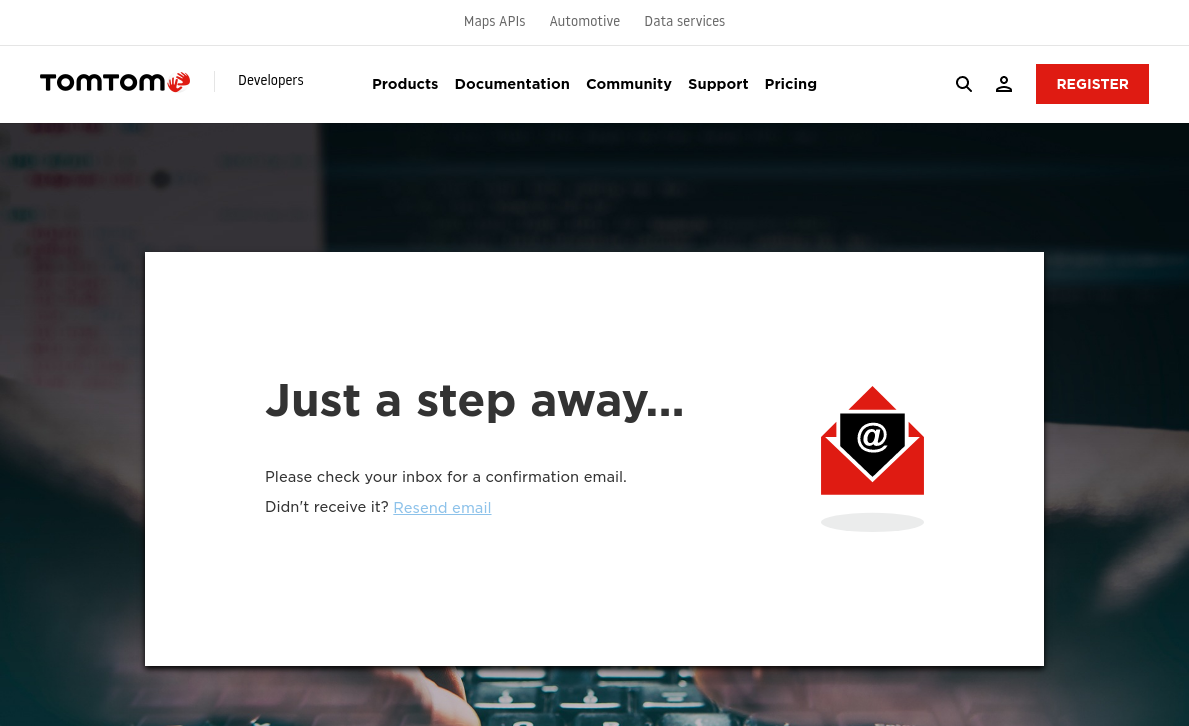
4. Check the registered email.
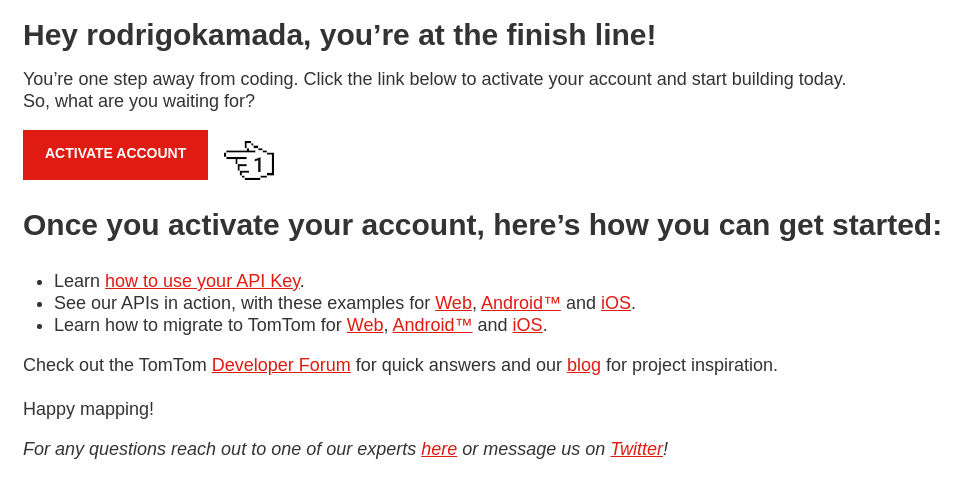
5. Click on the button ACTIVATE ACCOUNT in the email sent.
6. Click on the link MY DASHBOARD.
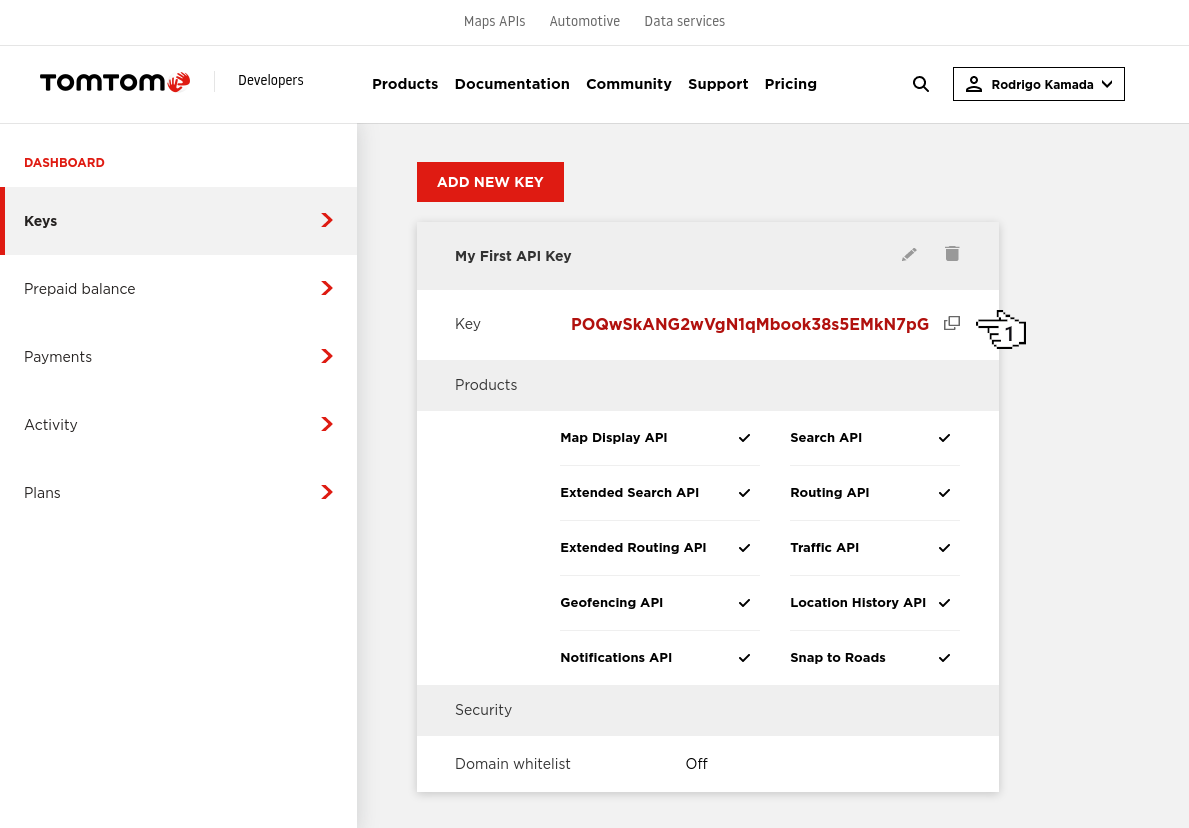
7. Copy the key displayed in the Keys menu and, in my case, the key POQwSkANG2wVgN1qMbook38s5EMkN7pG was displayed because this key will be configured in the Angular application.
8. Ready! Account created and key generated.
Create the Angular application
1. Let's create the application with the Angular base structure using the @angular/cli with the route file and the SCSS style format.
ng new angular-tomtom --routing true --style scss
CREATE angular-tomtom/README.md (1059 bytes)
CREATE angular-tomtom/.editorconfig (274 bytes)
CREATE angular-tomtom/.gitignore (620 bytes)
CREATE angular-tomtom/angular.json (3255 bytes)
CREATE angular-tomtom/package.json (1078 bytes)
CREATE angular-tomtom/tsconfig.json (863 bytes)
CREATE angular-tomtom/.browserslistrc (600 bytes)
CREATE angular-tomtom/karma.conf.js (1431 bytes)
CREATE angular-tomtom/tsconfig.app.json (287 bytes)
CREATE angular-tomtom/tsconfig.spec.json (333 bytes)
CREATE angular-tomtom/.vscode/extensions.json (130 bytes)
CREATE angular-tomtom/.vscode/launch.json (474 bytes)
CREATE angular-tomtom/.vscode/tasks.json (938 bytes)
CREATE angular-tomtom/src/favicon.ico (948 bytes)
CREATE angular-tomtom/src/index.html (299 bytes)
CREATE angular-tomtom/src/main.ts (372 bytes)
CREATE angular-tomtom/src/polyfills.ts (2338 bytes)
CREATE angular-tomtom/src/styles.scss (80 bytes)
CREATE angular-tomtom/src/test.ts (745 bytes)
CREATE angular-tomtom/src/assets/.gitkeep (0 bytes)
CREATE angular-tomtom/src/environments/environment.prod.ts (51 bytes)
CREATE angular-tomtom/src/environments/environment.ts (658 bytes)
CREATE angular-tomtom/src/app/app-routing.module.ts (245 bytes)
CREATE angular-tomtom/src/app/app.module.ts (393 bytes)
CREATE angular-tomtom/src/app/app.component.scss (0 bytes)
CREATE angular-tomtom/src/app/app.component.html (23364 bytes)
CREATE angular-tomtom/src/app/app.component.spec.ts (1097 bytes)
CREATE angular-tomtom/src/app/app.component.ts (219 bytes)
✔ Packages installed successfully.
    Successfully initialized git.
2. Install and configure the Bootstrap CSS framework. Do steps 2 and 3 of the post Adding the Bootstrap CSS framework to an Angular application.
3. Configure the TomTom key in the src/environments/environment.ts and src/environments/environment.prod.ts files as below.
tomtom: {
  key: 'POQwSkANG2wVgN1qMbook38s5EMkN7pG',
},
4. Install the @tomtom-international/web-sdk-maps library.
npm install @tomtom-international/web-sdk-maps
5. Configure the @tomtom-international/web-sdk-maps library. Change the angular.json file and add the maps.css file as below.
"styles": [
  "node_modules/bootstrap/scss/bootstrap.scss",
  "node_modules/bootstrap-icons/font/bootstrap-icons.css",
  "node_modules/@tomtom-international/web-sdk-maps/dist/maps.css",
  "src/styles.scss"
],
6. Remove the contents of the AppComponent class from the src/app/app.component.ts file. Create the getCurrentPosition and loadMap methods as below.
import { AfterViewInit, Component } from '@angular/core';
import { Observable, Subscriber } from 'rxjs';
import * as tt from '@tomtom-international/web-sdk-maps';
import { environment } from '../environments/environment';
@Component({
selector: 'app-root',
templateUrl: './app.component.html',
styleUrls: ['./app.component.scss'],
})
export class AppComponent implements AfterViewInit {
map: any;
constructor() {
}
public ngAfterViewInit(): void {
this.loadMap();
}
private getCurrentPosition(): any {
return new Observable((observer: Subscriber<any>) => {
if (navigator.geolocation) {
navigator.geolocation.getCurrentPosition((position: any) => {
observer.next({
latitude: position.coords.latitude,
longitude: position.coords.longitude,
});
observer.complete();
});
} else {
observer.error();
}
});
}
private loadMap(): void {
this.map = tt.map({
key: environment.tomtom.key,
container: 'map',
});
this.map.addControl(new tt.FullscreenControl());
this.map.addControl(new tt.NavigationControl());
this.getCurrentPosition()
.subscribe((position: any) => {
this.map.flyTo({
center: {
lat: position.latitude,
lng: position.longitude,
},
zoom: 13,
});
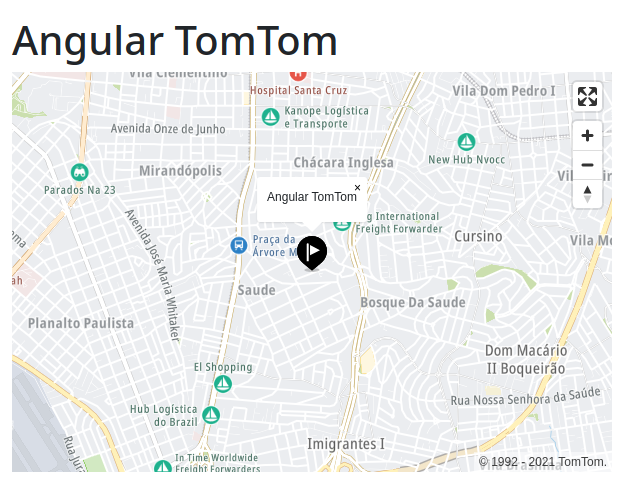
const popup = new tt.Popup({ anchor: 'bottom', offset: { bottom: [0, -40] } }).setHTML('Angular TomTom');
var marker = new tt.Marker().setLngLat({
lat: 37.7749,
lng: -122.4194,
}).addTo(this.map);
marker.setPopup(popup).togglePopup();
});
}
}
7. Remove the contents of the src/app/app.component.html file. Add the map div tag as below.
<div class="container-fluid py-3">
  <h1>Angular TomTom</h1>

  <div id="map" class="map"></div>
</div>
8. Add the style in the src/app/app.component.scss file as below.
#map {
  height: 400px;
  width: 100%;
  max-width: 600px;
}
9. Run the application with the command below.
npm start

> angular-tomtom@1.0.0 start
> ng serve

✔ Browser application bundle generation complete.

Initial Chunk Files   | Names         |  Raw Size
vendor.js             | vendor        |   3.66 MB |
styles.css, styles.js | styles        | 521.05 kB |
polyfills.js          | polyfills     | 339.20 kB |
scripts.js            | scripts       |  76.33 kB |
main.js               | main          |  10.36 kB |
runtime.js            | runtime       |   6.86 kB |

                      | Initial Total |   4.59 MB

Build at: 2021-12-12T17:33:13.265Z - Hash: e4a77c4fe28aa482 - Time: 4248ms

** Angular Live Development Server is listening on localhost:4200, open your browser on http://localhost:4200/ **


✔ Compiled successfully.
Note:
- If the error
Module '"/node_modules/@types/geojson/index"' has no default export. Did you mean to use 'import { GeoJSON } from "/node_modules/@types/geojson/index"' instead?occurs, add the settingallowSyntheticDefaultImportsin thetsconfig.jsonfile as below.
{
  "compilerOptions": {
    "allowSyntheticDefaultImports": true
  }
}
10. Ready! Access the URL http://localhost:4200/ and check if the application is working. See the application working on GitHub Pages and Stackblitz.
The application repository is available at https://github.com/rodrigokamada/angular-tomtom.
This tutorial was posted on my blog in portuguese.


