Creating a serverless API using AWS Lambda and Node.js with TypeScript and Express.js
Example application using the Node.js with TypeScript where a serverless API will be implemented and deployed on the AWS Lambda service.

👨💻 Software Developer | ✍️ Technical Content Creator | 🤝 Open Source Contributor | 🎙️ Speaker | 👨🏫 Mentor | 🙌 Ambassador | ☁️ AWS Community Builder
Introduction
In this article, an application will be created using the Node.js with TypeScript and Express.js where a serverless API will be implemented and deployed on the AWS Lambda service.
Getting started
Create and configure the account on the AWS Lambda
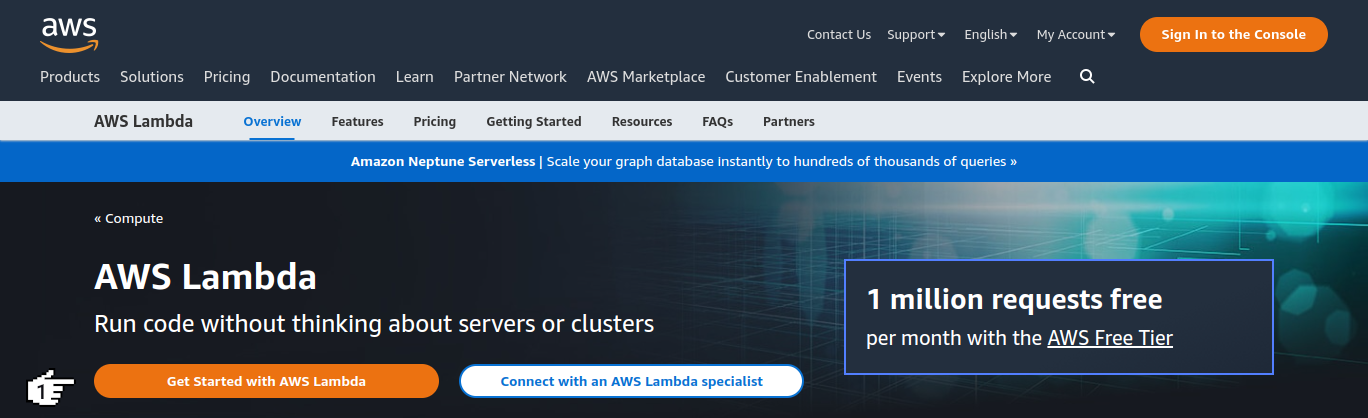
AWS Lambda is a service that lets you run code for virtually any type of application without provisioning or managing servers or clusters.
1. Let's create and configure the account. Access the site https://aws.amazon.com/lambda/ and click on the button Get Started with AWS Lambda.
2. Now we will click on the option Root user, fill in the field Root user email address and click on the button Next.
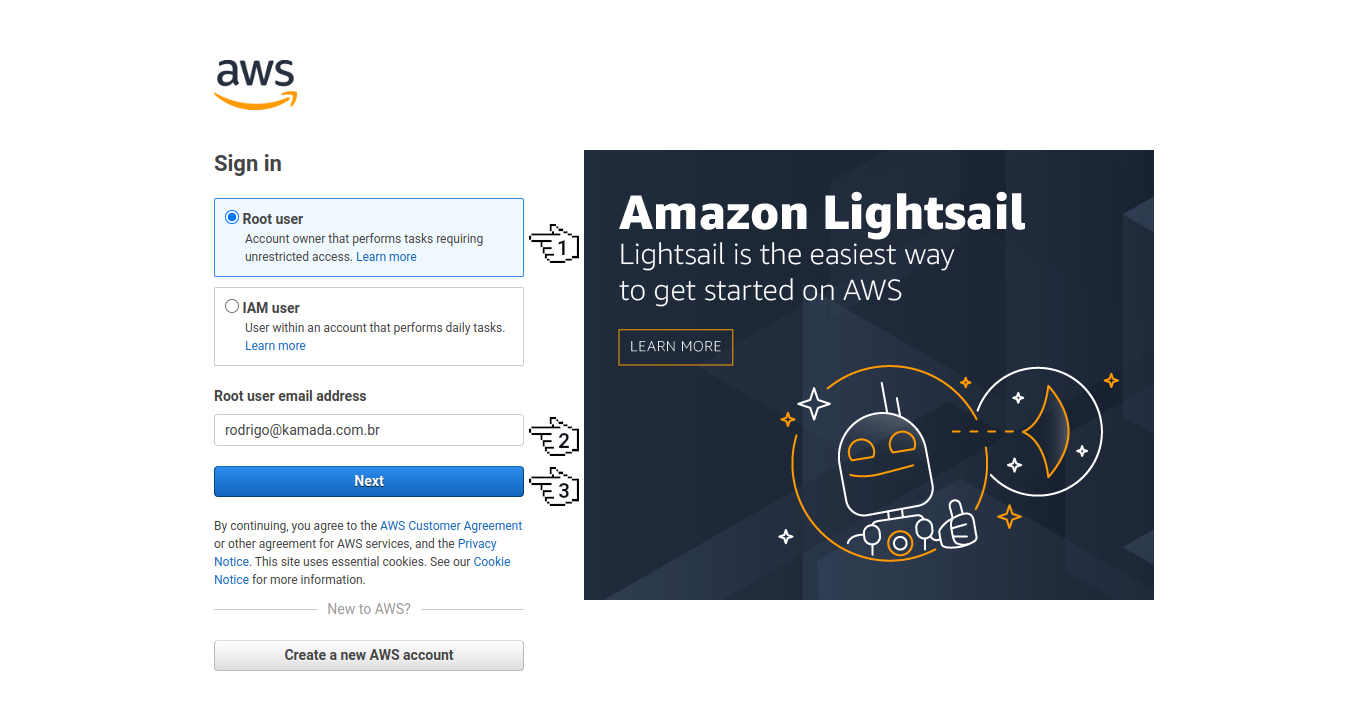
Note:
- If you don't have an Amazon account, do steps 1 to 9 of the post Authentication using the Amazon Cognito to an Angular application in the session Create and configure the account on the Amazon Cognito.
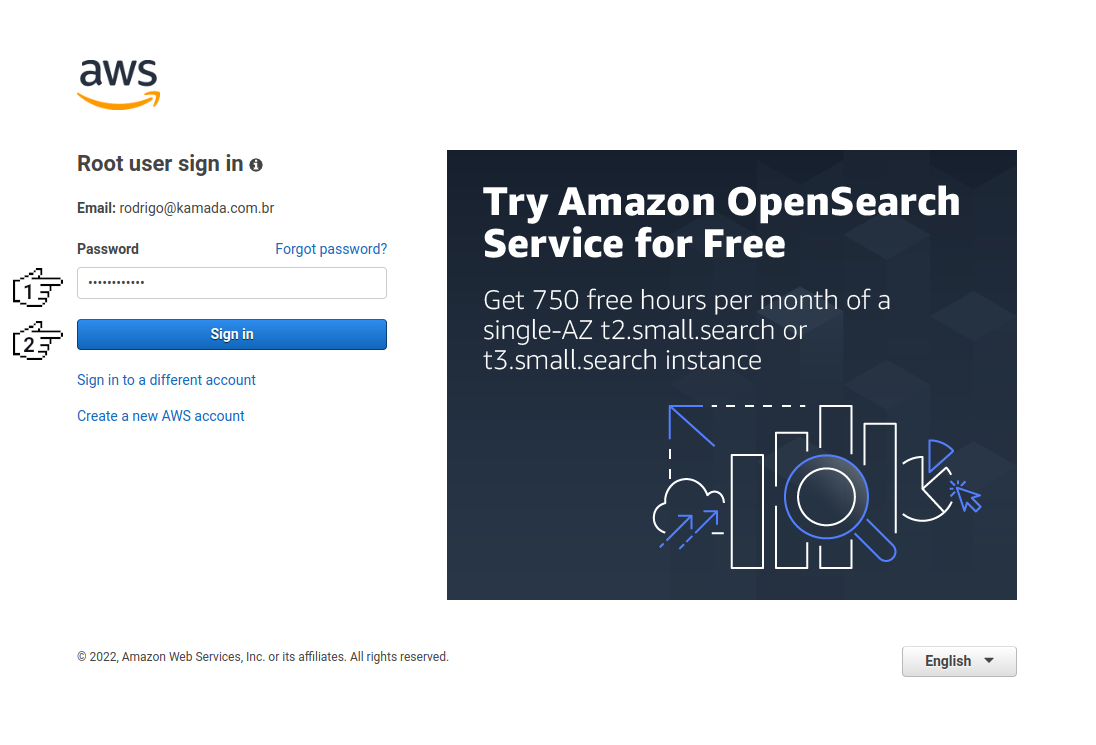
3. Next, we will fill in the field Password and click on the button Sign in.
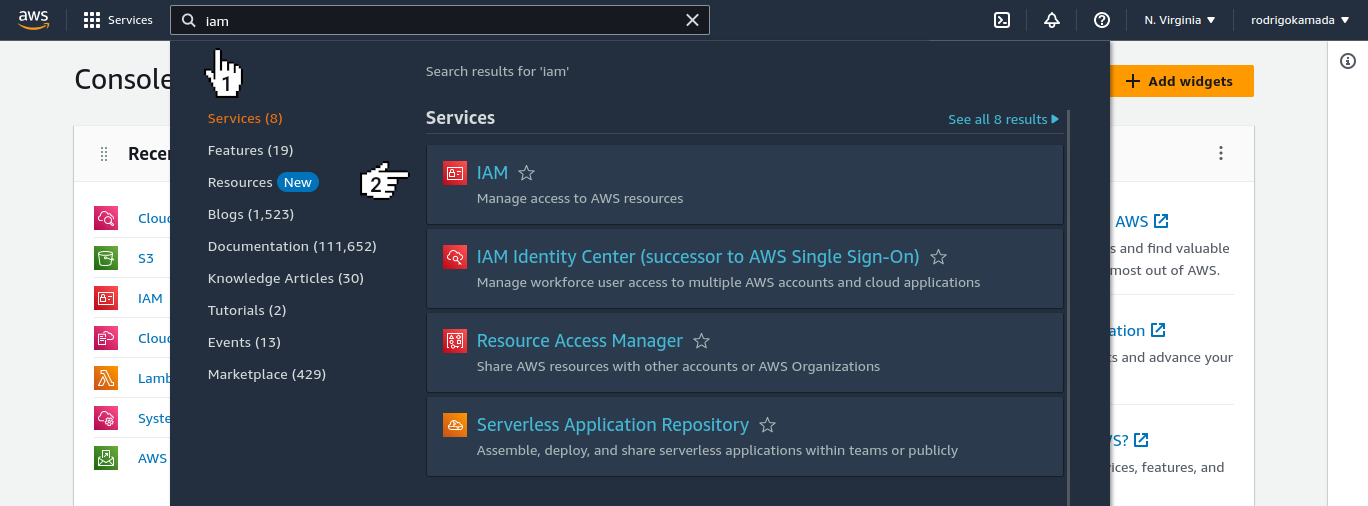
4. After access the account, we will type aim in the search field and click on the option AIM.
5. Now we will click on the menu Users.

6. Next, we will click on the button Add users.

7. After access the screen for adding users, we will fill in the field User name and click on the button Next.

8. Now we will click on the option Attach policies directly, click on the item AdministratorAccess and click on the button Next.

9. Next, we will click on the button Create user.

10. After create the user, we will click on the link with the user name.

11. Now we will click on the tab Security credentials and click on the button Create access key.

12. Next, we will click on the option Command Line Interface (CLI) and click on the button Next.
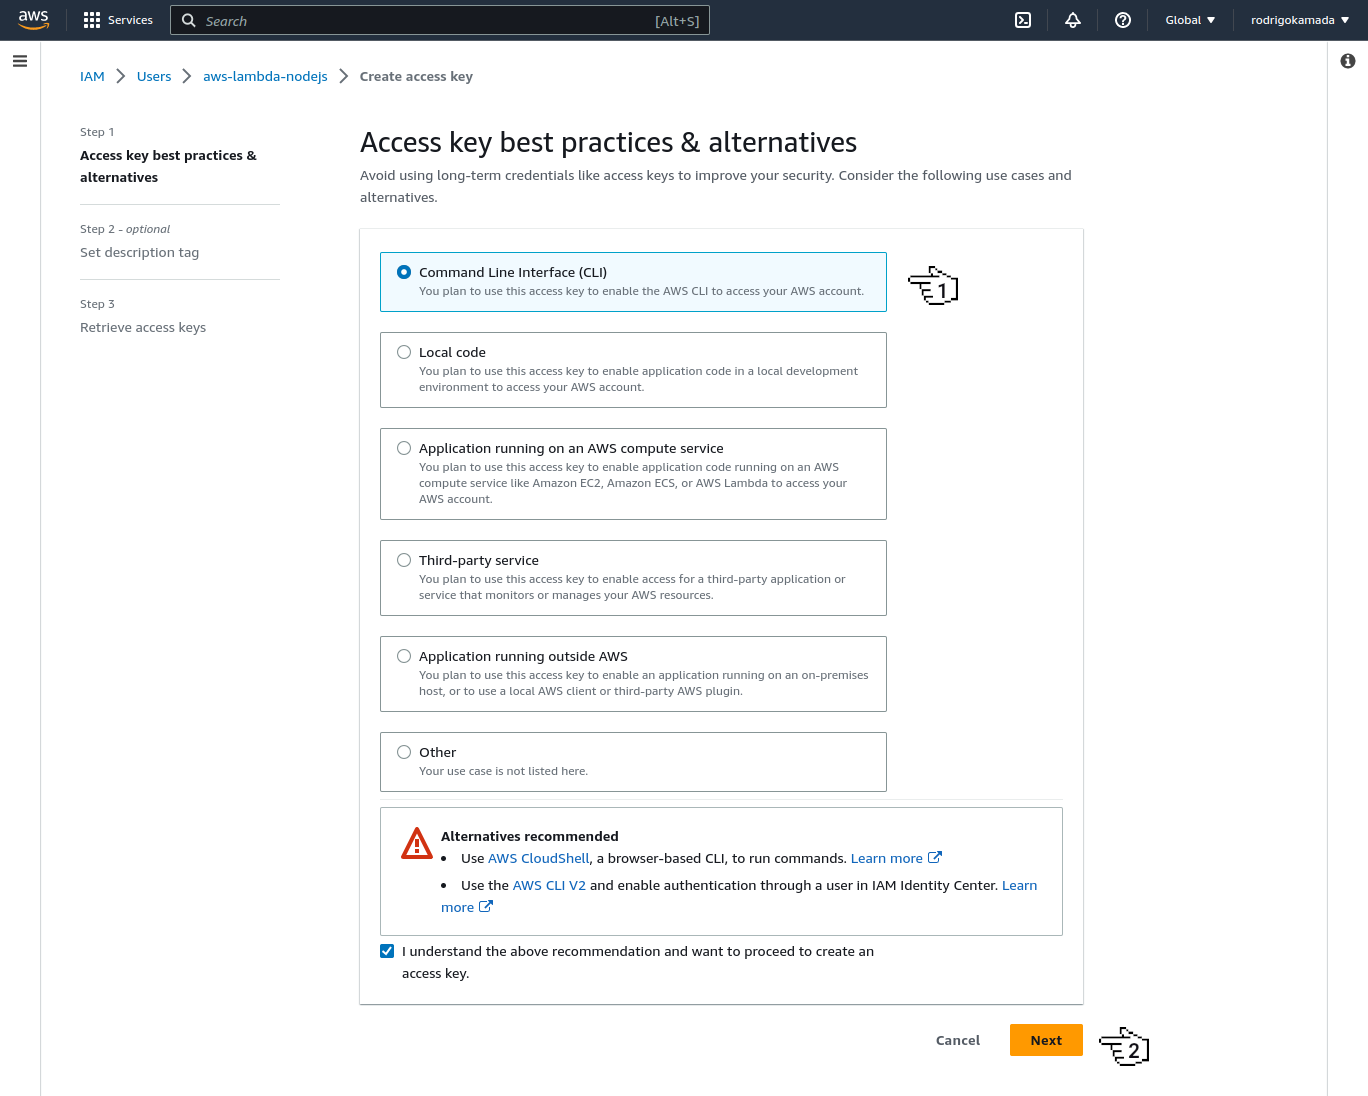
13. Then, we will click on the button Create access key.

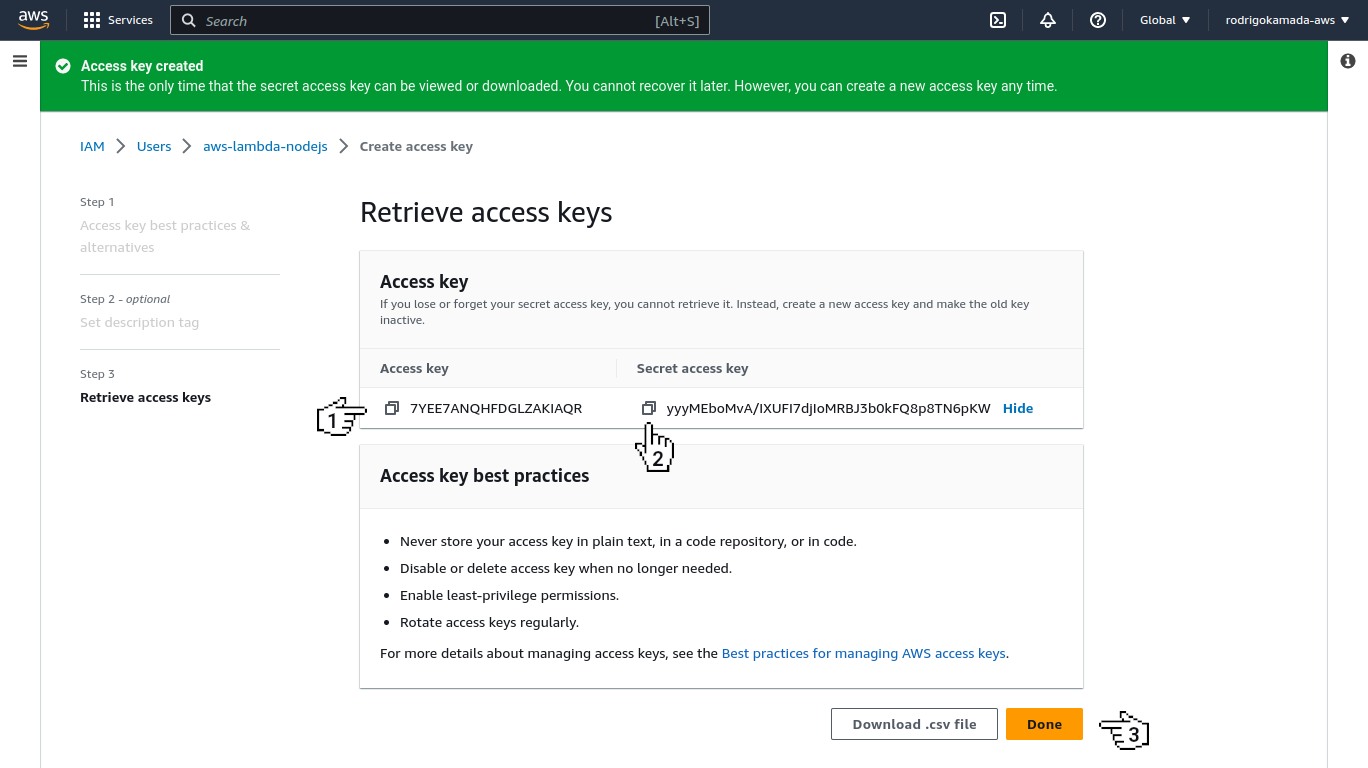
14. After create the access keys, we will copy the keys Access key and Secret access key because the keys will be used in the command line and click on the button Create access key.
15. Ready! Your account was created, configured and the keys was created.
Create the Node.js application
Node.js is open source, cross-platform software that runs JavaScript code on the server. It is based on Google's V8 JavaScript interpreter.
1. Let's create the application. We will create the application folder.
mkdir nodejs-aws-lambda
cd nodejs-aws-lambda
2. Now we will create the file package.json. The option -y allows the file to be created without the questions, such as application name, version, among others.
npm init -y
3. Next, we will install the application dependencies express and serverless-http.
npm install express serverless-http
4. After install the application dependencies, we will install the development dependencies ts-node, typescript and @types/express.
npm install rimraf ts-node typescript @types/express --save-dev
5. Now we will create the TypeScript configuration file tsconfig.json.
./node_modules/.bin/tsc --init
6. Next, we will configure the TypeScript file tsconfig.json.
{
  "compilerOptions": {
    "target": "ESNEXT",
    "module": "commonjs",
    "outDir": "./dist",
    "esModuleInterop": true,
    "forceConsistentCasingInFileNames": true,
    "strict": true,
    "skipLibCheck": true
  },
  "include": [
    "src/**/*"
  ]
}
7. After configure the TypeScript file, we will add the transpilation script in the file package.json.
  "scripts": {
    "build": "rimraf dist && tsc"
  },
8. Now we will create the folder src, src/routes and src/routes/v1.
mkdir -p src/routes/v1
9. Next, we will create the routes file src/routes/v1/books.ts.
touch src/routes/v1/books.route.ts
10. After create the routes file, we will add the routes in the file src/routes/v1/books.route.ts.
import { Request, Response, Router } from 'express';

const router = Router();

router.get('/', async (req: Request, res: Response) => {
  try {
    res.status(200).json([]);
  } catch (error) {
    console.error('An error ocurred:', error);
    res.status(500).json(error);
  }
});

router.get('/:id', async (req: Request, res: Response) => {
  try {
    res.status(200).json({});
  } catch (error) {
    console.error('An error ocurred:', error);
    res.status(500).json(error);
  }
});

router.post('/', async (req: Request, res: Response) => {
  try {
    res.status(201).json({});
  } catch (error) {
    console.error('An error occurred:', error);
    res.status(500).json(error);
  }
});

router.put('/:id', async (req: Request, res: Response) => {
  try {
    res.status(200).json({});
  } catch (error) {
    console.error('An error occurred:', error);
    res.status(500).json(error);
  }
});

router.delete('/:id', async (req: Request, res: Response) => {
  try {
    res.status(200).json({});
  } catch (error) {
    console.error('An error occurred:', error);
    res.status(500).json(error);
  }
});

export default router;
11. Now we will create the file src/routes/v1/index.ts with the routes configuration of the version 1.
touch src/routes/v1/index.ts
12. Next, we will add the routes configuration in the file src/routes/v1/index.ts.
import { Router } from 'express';

import books from './books.route';

const router = Router();

router.use('/books', books);

export default router;
13. Then, we will create the file src/routes/index.ts with the routes configuration.
touch src/routes/index.ts
14. After create the file with the routes configuration, we will add the routes configuration in the file src/routes/index.ts.
import { Router } from 'express';

import v1 from './v1';

const router = Router();

router.use('/v1', v1);

export default router;
15. Now we will create the application file src/app.ts with the Express.js settings.
touch src/app.ts
16. Next, we will add the Express.js settings in the file src/app.ts.
import express from 'express';
import serverless from 'serverless-http';

import routes from './routes';

const app = express();

app.use(express.json());

app.use('/', routes);

app.use((req: express.Request, res: express.Response, next: express.NextFunction) => {
  res.status(404).send();
});

app.use((err: any, req: express.Request, res: express.Response, next: express.NextFunction) => {
  res.status(err.status || 500).send();
});

export const handler = serverless(app);
17. After add the Express.js settings, we will create the Serverless configuration file serverless.yml with the AWS Lambda settings.
touch serverless.yml
18. Now we will add the AWS Lambda settings in the file serverless.yml.
service: nodejs-aws-lambda
provider:
  name: aws
  runtime: nodejs18.x
functions:
  app:
    handler: dist/app.handler
    events:
      - http: ANY /
      - http: ANY /{proxy+}
19. Next, we will build the application.
npm run build

> nodejs-aws-lambda@1.0.0 build /home/rodrigokamada/nodejs-aws-lambda
> rimraf dist && tsc
20. After build the application, we will install serverless tool.
npm install -g serverless
21. Now we will configure the serverless tool.
serverless config credentials --provider aws --key 7YEE7ANQHFDGLZAKIAQR --secret yyyMEboMvA/IXUFI7djIoMRBJ3b0kFQ8p8TN6pKW
✔ Profile "default" has been configured
22. Next, we will deploy the application.
serverless deploy

Deploying nodejs-aws-lambda to stage dev (us-east-1)

✔ Service deployed to stack nodejs-aws-lambda-dev (56s)

endpoints:
  ANY - https://5imsknki87.execute-api.us-east-1.amazonaws.com/dev
  ANY - https://5imsknki87.execute-api.us-east-1.amazonaws.com/dev/{proxy+}
functions:
  app: nodejs-aws-lambda-dev-app (853 kB)

Monitor Express APIs by route with the Serverless Console: run "serverless --console"
23. After deploy the application, we will confirm if the application was deployed on the AWS Lambda service. We will type lambda in the search field and click on the option Lambda.
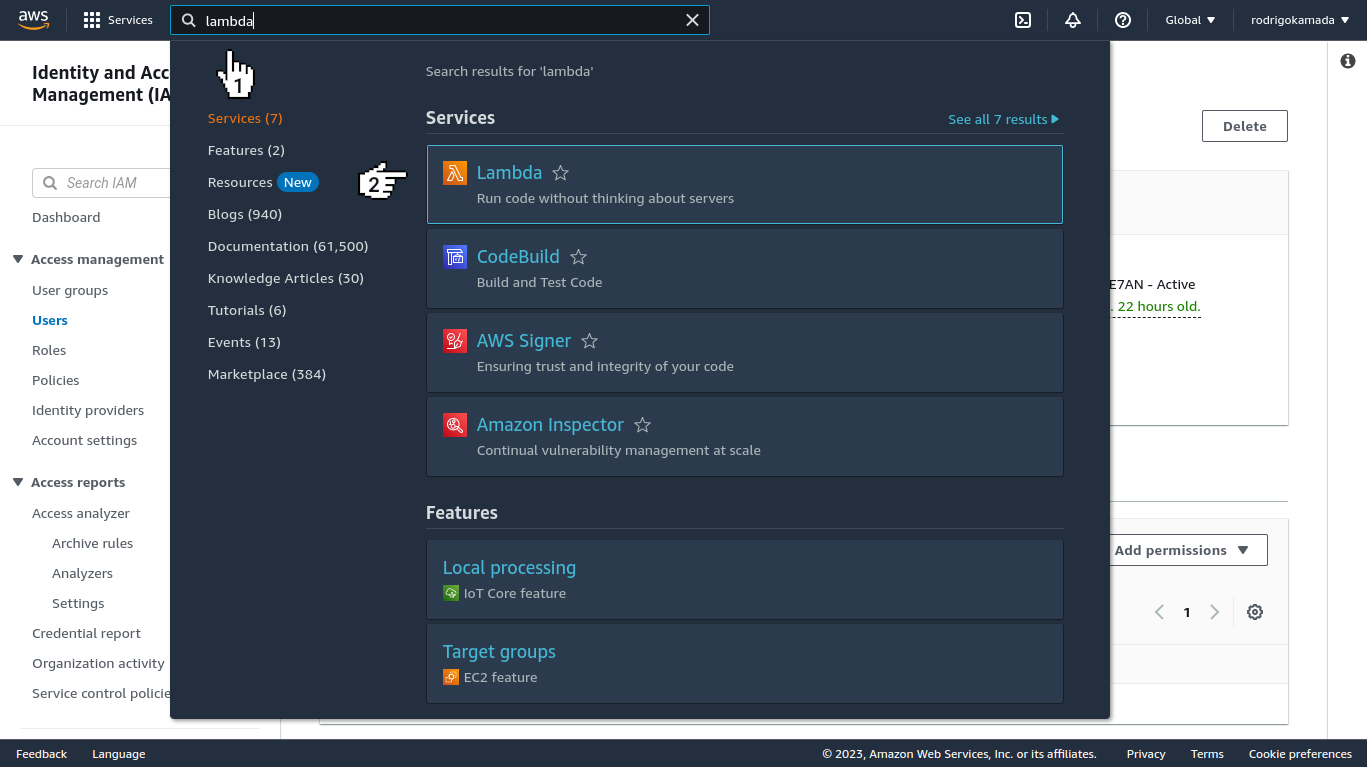
24. Now we will confirm that a function was created with the name nodejs-aws-lambda-dev-app.

25. Ready! The application was created and deployed on AWS Lambda.
The application repository is available at https://github.com/rodrigokamada/nodejs-aws-lambda.
Test the application on the AWS Lambda service
1. Let's test the application on the AWS Lambda service. Send a request on the route created and the URL provided.
curl -s "https://5imsknki87.execute-api.us-east-1.amazonaws.com/dev/v1/books" | jq
[
  {
    "id": "ebb3d966-74e4-11ed-8db0-136d663b98e7",
    "title": "Some Title",
    "author": "Some Author"
  }
]
2. Ready! We tested the serverless API deployed on the AWS Lambda service.
Conclusion
Summarizing what was covered in this article:
We created an account on the Amazon Web Services (AWS).
We created the access keys on the Amazon Web Services (AWS).
We created a Node.js application.
We created the routes in the Node.js application using Express.js.
We tested the Node.js application on the AWS Lambda service.
You can use this article to provide a API in the cloud without having to manage servers or clusters.
Thank you for reading and I hope you enjoyed the article!
This tutorial was posted on my blog in portuguese.
To stay updated whenever I post new articles, follow me on Twitter and LinkedIn.


