How to build a music recognition chatbot on WhatsApp channel using Node.js
Application example using Node.js where a simple chatbot will be implemented on the WhatsApp for music recognition.

👨💻 Software Developer | ✍️ Technical Content Creator | 🤝 Open Source Contributor | 🎙️ Speaker | 👨🏫 Mentor | 🙌 Ambassador | ☁️ AWS Community Builder
Introduction
In this article, an application will be built using JavaScript and Node.js where a simple chatbot will be implemented using the Zenvia platform to integrate with WhatsApp channel and the AudD platform to integrate with music recognition in order to test some features of the WhatsApp channel such as sending and receiving text, image and audio messages.
The first version of the WhatsApp mobile application was released in November 2009 exclusively for iOS and in August 2010 for Android.
The Facebook acquired WhatsApp for $16 billion in 2014 and according to the latest data released in 2018, the application has more than 5 billion installs on Google Play and more than 1.5 billion users online monthly.
Aiming at efficient communication for small, medium and large companies with their consumers around the world, in August 2018, the WhatsApp launched the WhatsApp Business API providing an API to send and receive messages that can integrate with corporate systems through the yours partners and the Zenvia is an official partner of Facebook.
Create an account on the ngrok platform
ngrok is a service that exposes an application that is running locally on the Internet.
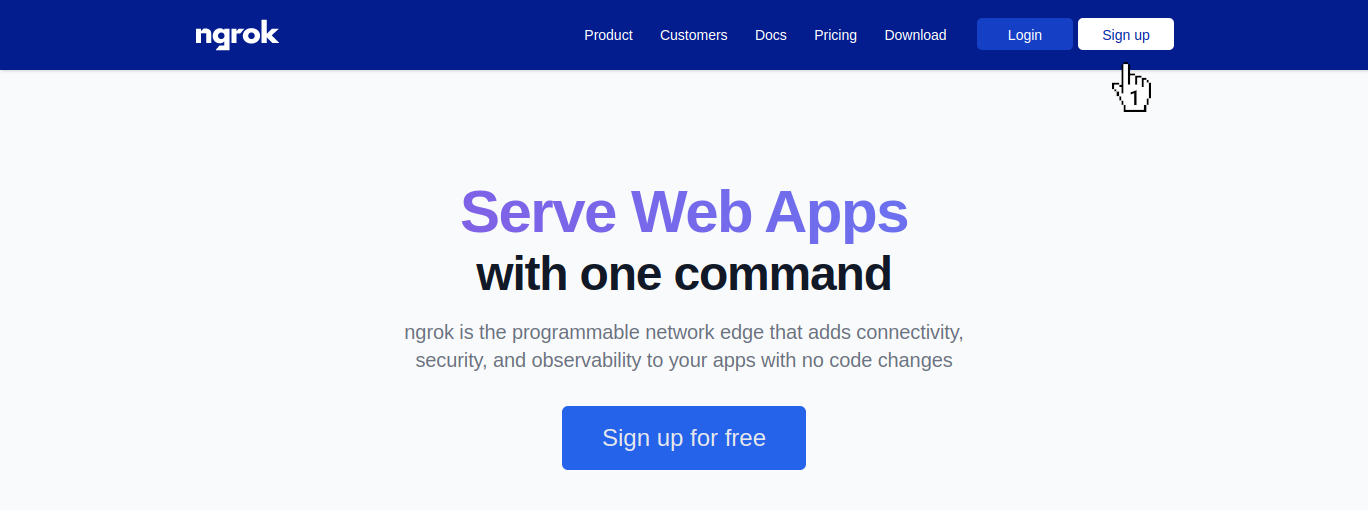
1. Let's create the account. We will access the site https://ngrok.com/ and click on the button Sign up.
2. Now we will fill in the fields Name, E-mail, Password, click on I'm not a robot and click on the button Sign Up. You can also login with GitHub or Google social login.
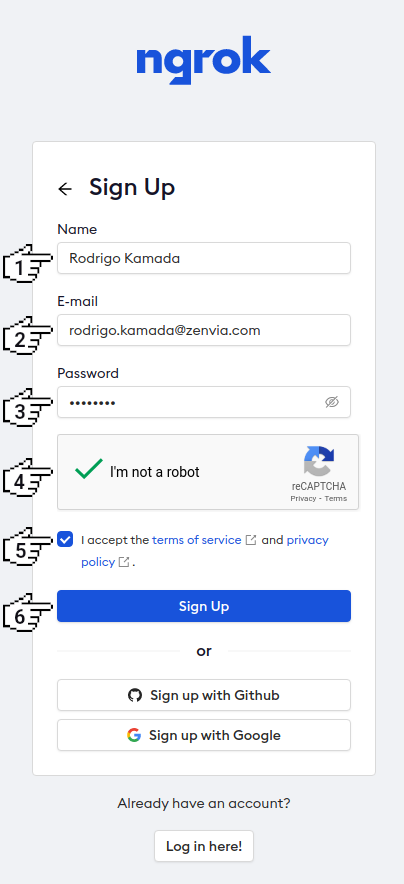
3. Next, we will copy the command with the authentication token as this command will be configured after installation.
4. Ready! Your account was created.
Install and configure the ngrok platform tool
The ngrok tool will create a tunnel for the application that is running locally providing a URL on the Internet.
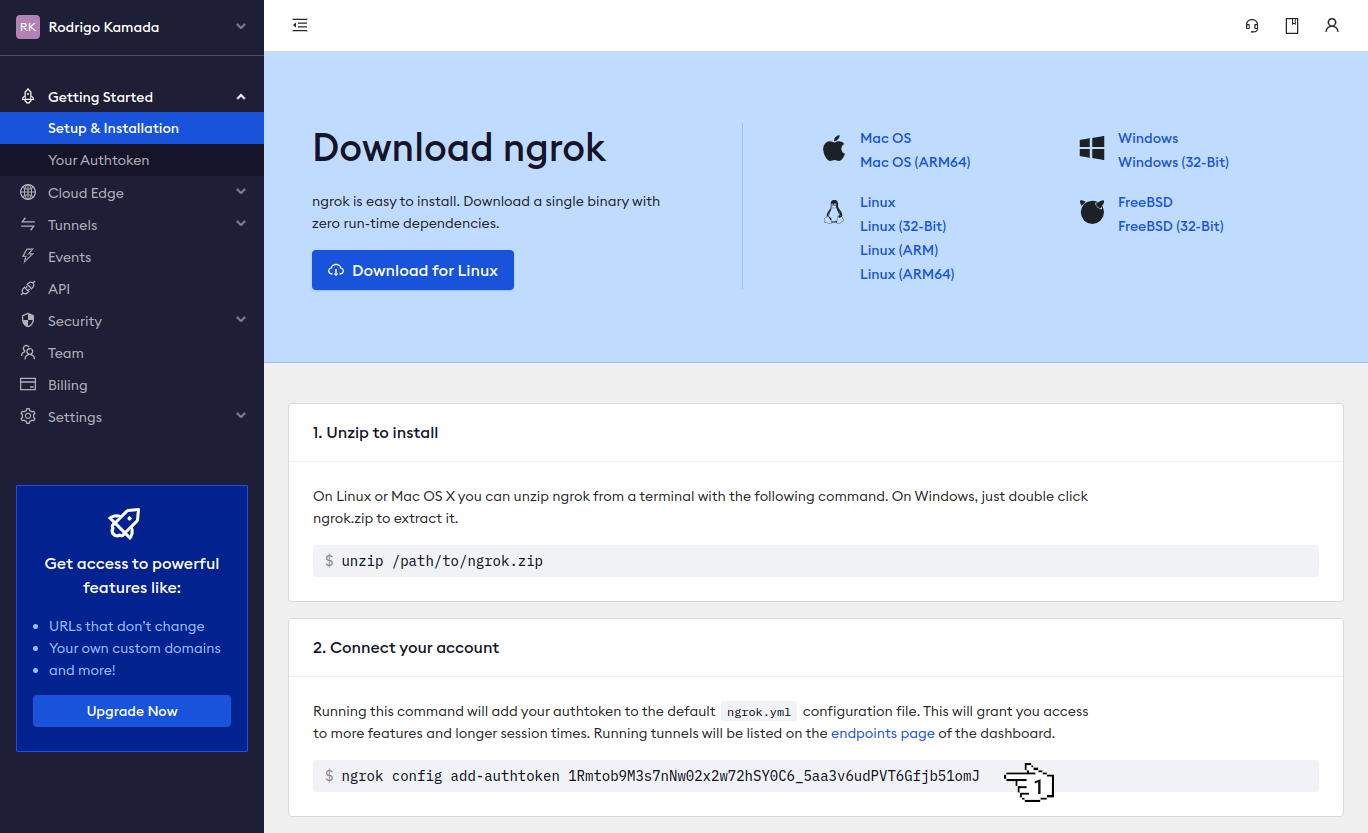
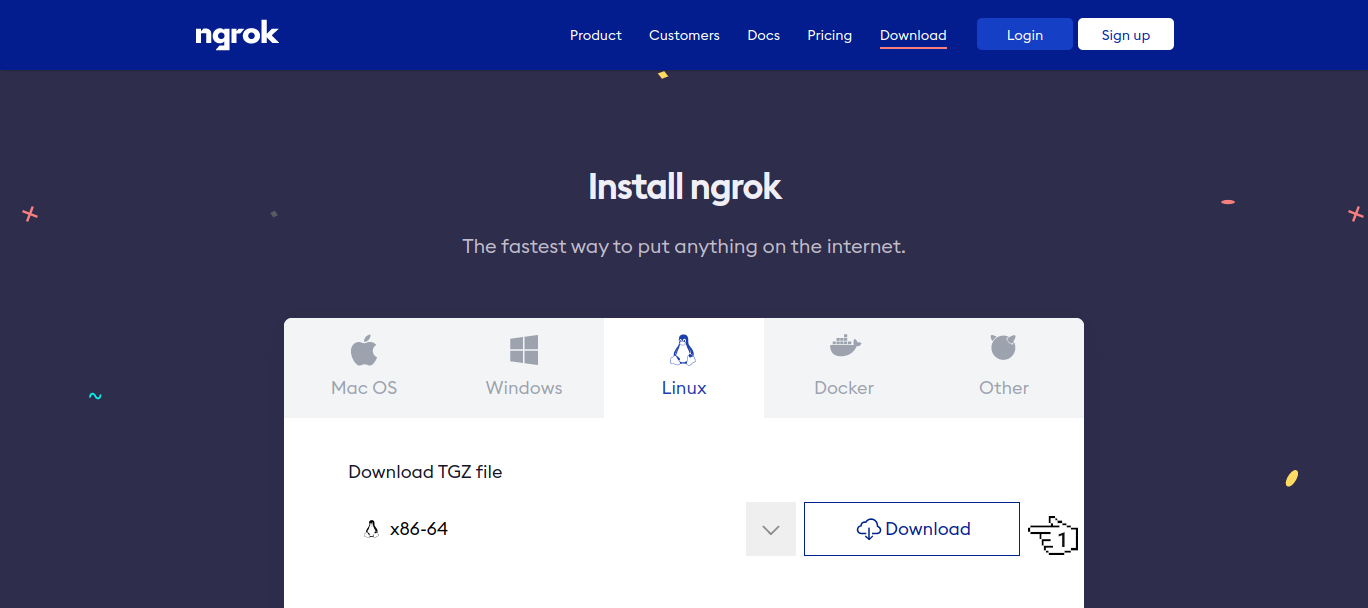
1. Let's install and configure ngrok. We will access the site https://ngrok.com/download and download the installation file for your operating system.
2. Now we will extract and install the downloaded file. I'm using the openSUSE Tumbleweed operating system and I just extracted it in the /usr/local/bin/ folder.
3. After install ngrok, we will configure the authentication token. In my case, I ran the below command in terminal.
ngrok config add-authtoken 1Rmtob9M3s7nNw02x2w72hSY0C6_5aa3v6udPVT6Gfjb51omJ
Note:
- Use your authentication token that was generated on the ngrok platform.
4. Now we will create the tunnel on port 3000 that will be the application's port. In my case, I ran the below command in terminal.
ngrok http 3000
5. Ready! The ngrok tool was configured and will display in the terminal the public URL https://4402-2804-1b3-a8c3-b00f-8119-68d3-7e21-33e1.ngrok.io available to access on the Internet.
ngrok by @inconshreveable                                                                                                                                                                                                                                     (Ctrl+C to quit)

Session Status                online
Session Expires               1 hour, 59 minutes
Version                       2.3.40
Region                        United States (us)
Web Interface                 http://127.0.0.1:4040
Forwarding                    http://4402-2804-1b3-a8c3-b00f-8119-68d3-7e21-33e1.ngrok.io -> http://localhost:3000
Forwarding                    https://4402-2804-1b3-a8c3-b00f-8119-68d3-7e21-33e1.ngrok.io -> http://localhost:3000

Connections                   ttl     opn     rt1     rt5     p50     p90
                              0       0       0.00    0.00    0.00    0.00
Note:
- The tunnel has an expiration time of 2 hours as displayed in Session Expires, and if it expires, run the command again to create the tunnel.
Create an account on the Zenvia platform
Zenvia is a platform that empowers companies to create unique communication experiences for their customers through SMS, WhatsApp, Voice, Facebook Messenger, WEB Chat and RCS channels.
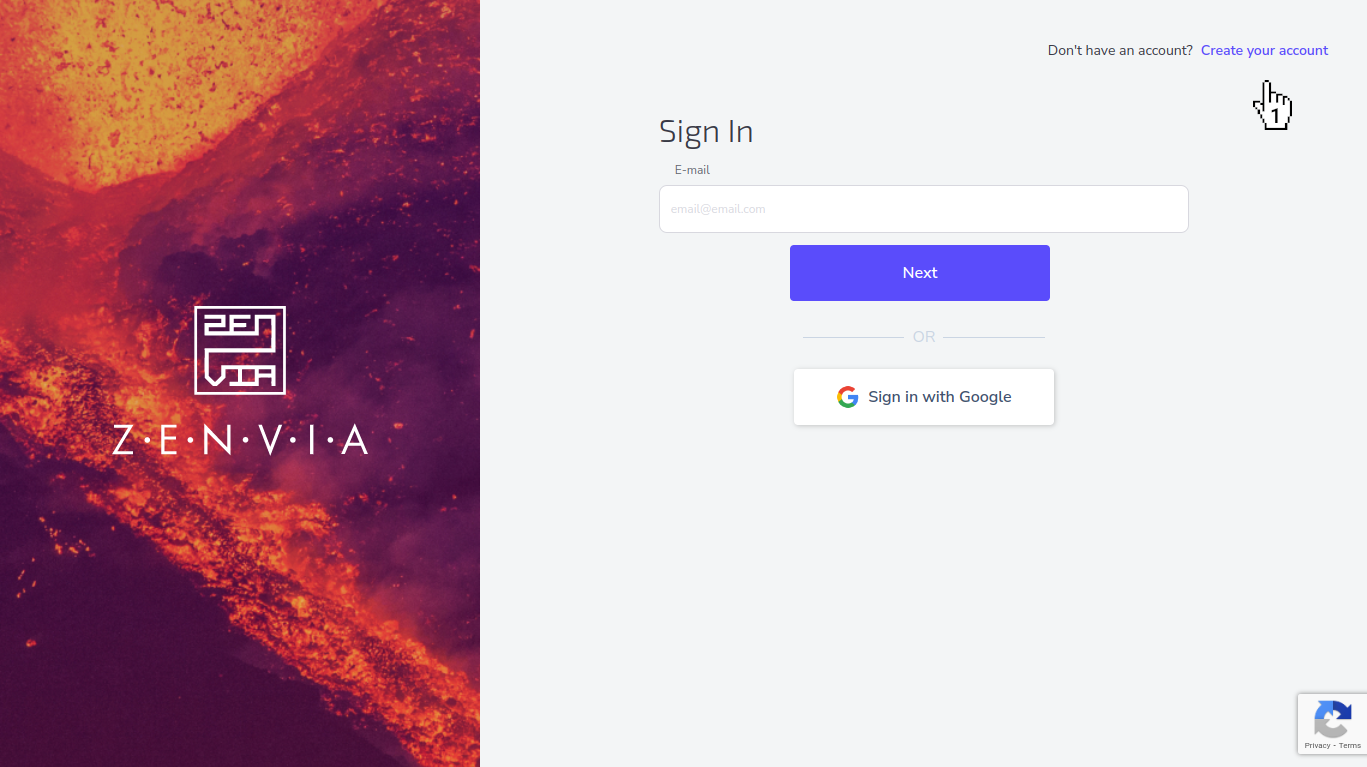
1. Let's create the account. We will access the site https://app.zenvia.com and click on the link Create your account.
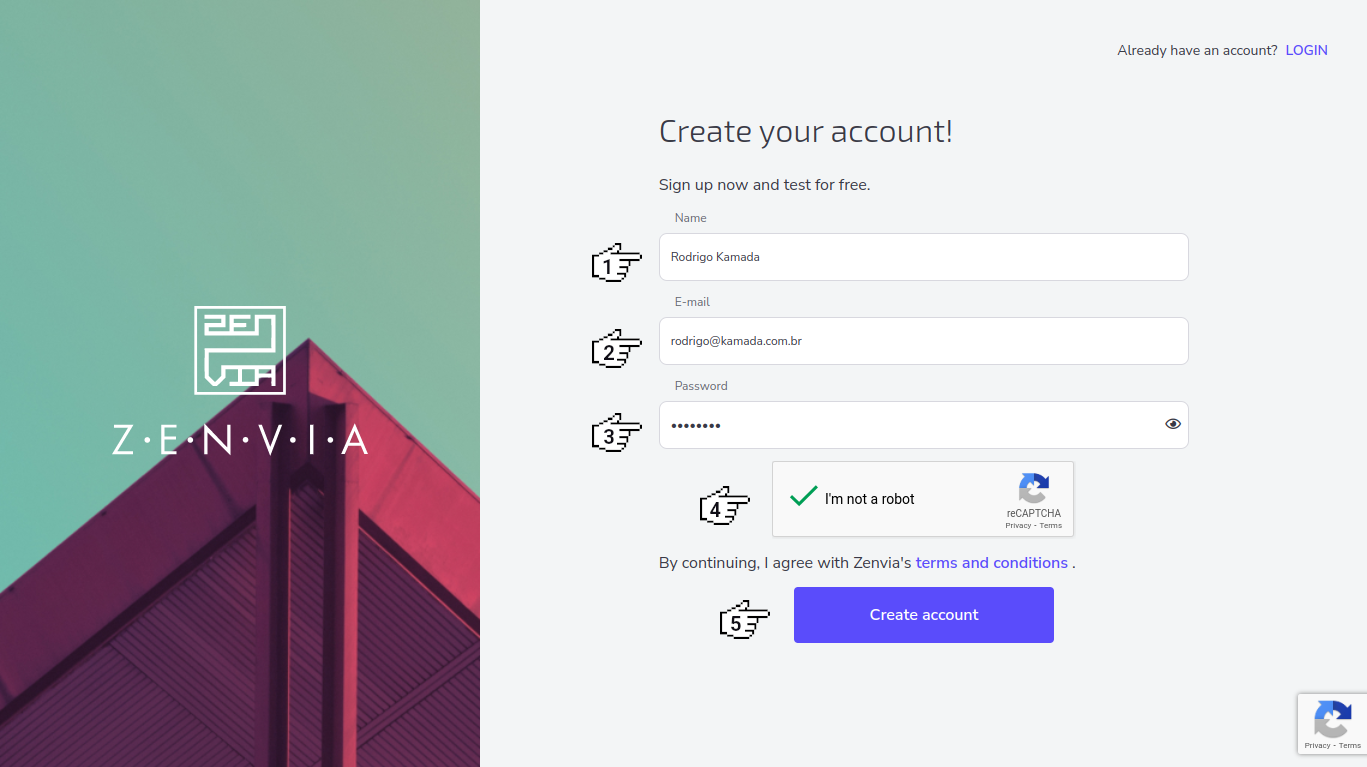
2. Now we will fill in the fields Name, E-mail, Password, click on the option I'm not a robot and click on the button Create account.
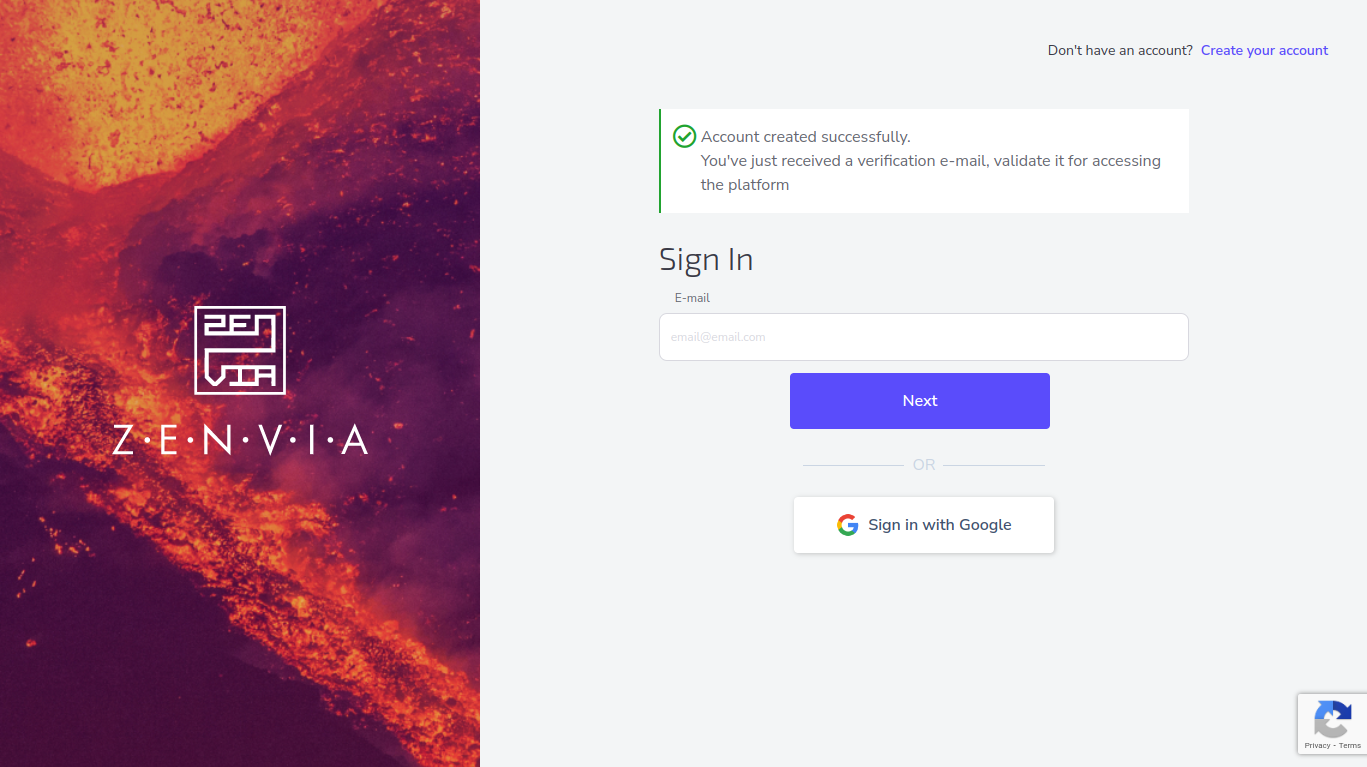
3. After create the account, we will check the registered email.
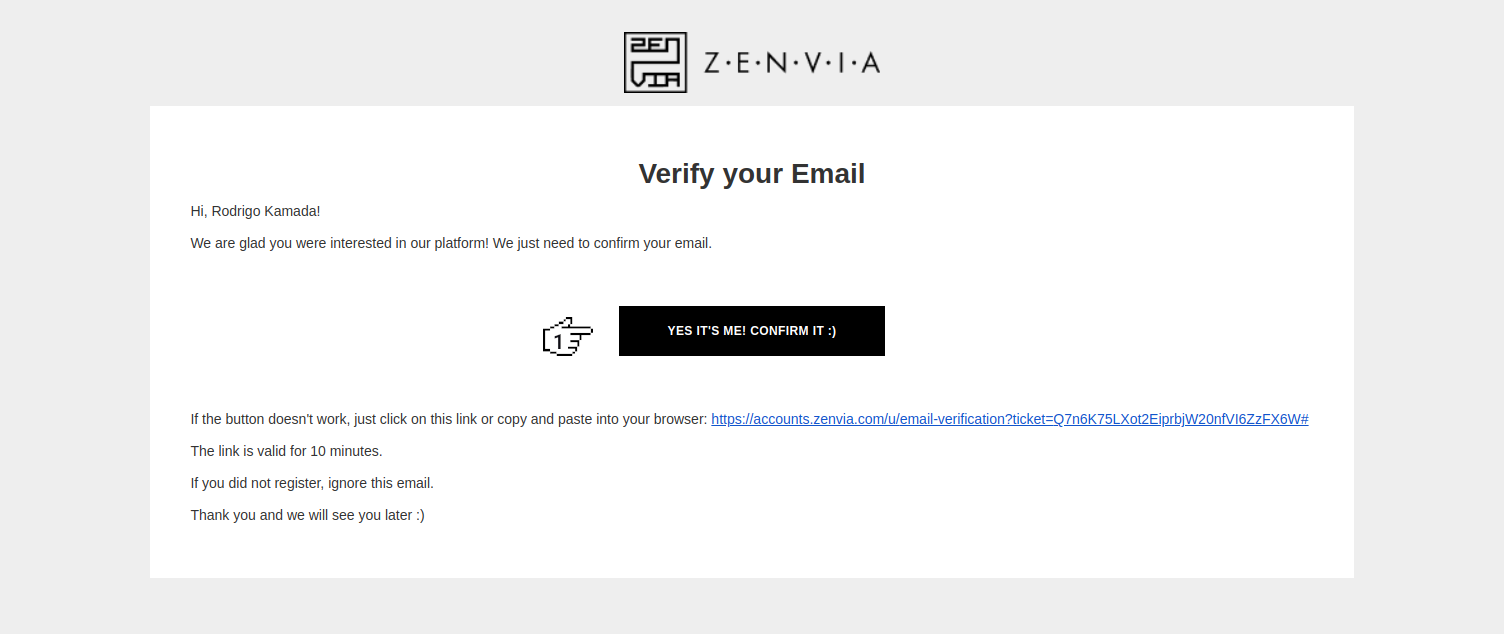
4. Now we will click on the button YES IT'S ME! CONFIRM IT :) in the email sent.
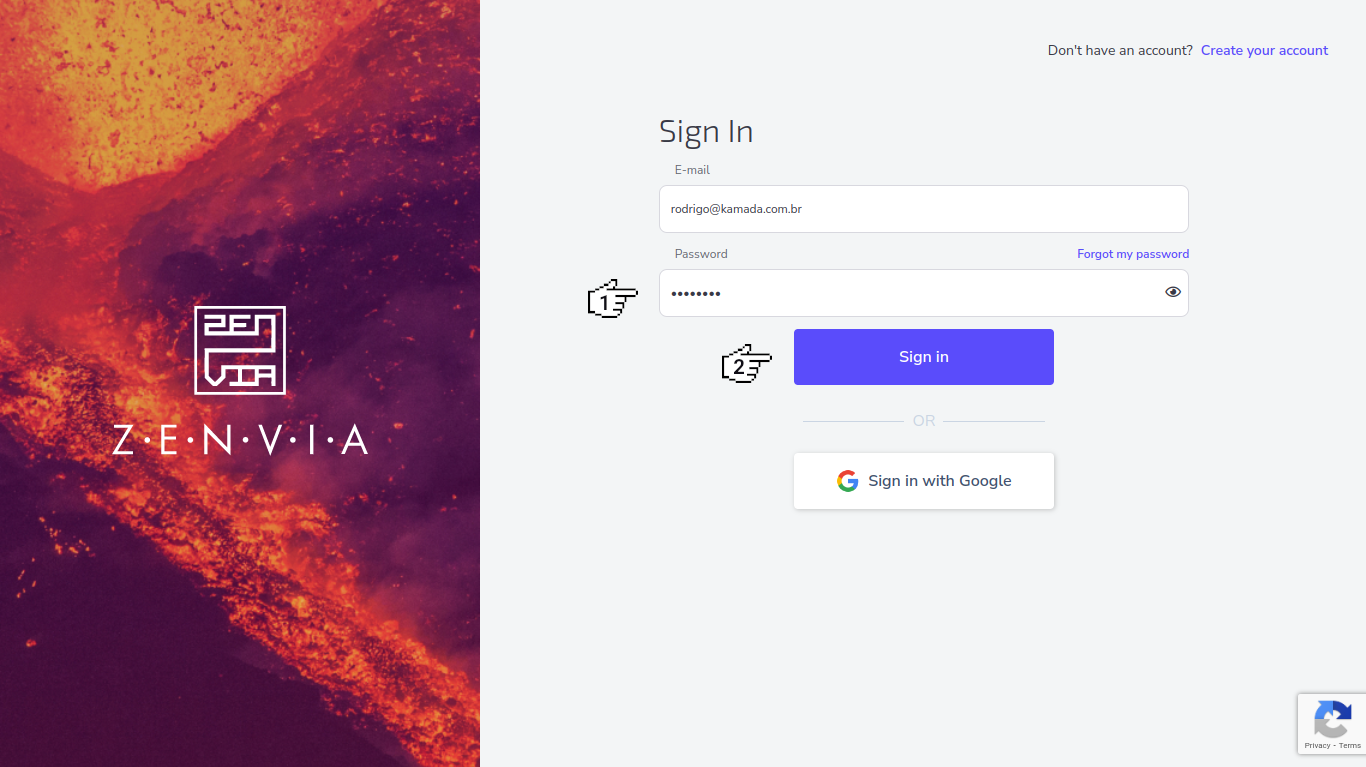
5. After confirm the email, we will fill in the field E-mail and click on the button Next.

6. Now we will fill in the field Password and click on the button Sign in.
7. Next, we will fill in the field Enter your phone number and click on the button Continue to validate your phone number.

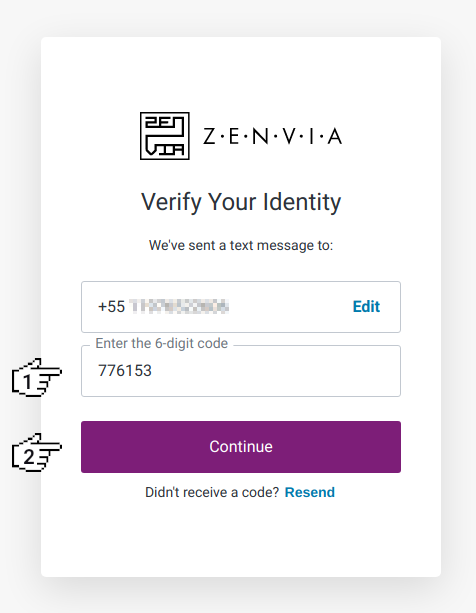
8. Now we will fill in the field Enter the 6-digit code with code you received on your mobile phone and click on the button Continue.
9. Ready! Your account was created.
Create the sandbox on the ZENVIA platform
Sandbox is a very popular concept among developers, where it is possible to test some functionality of a platform without hiring the service. Therefore, it needs to be intuitive and without bureaucracy.
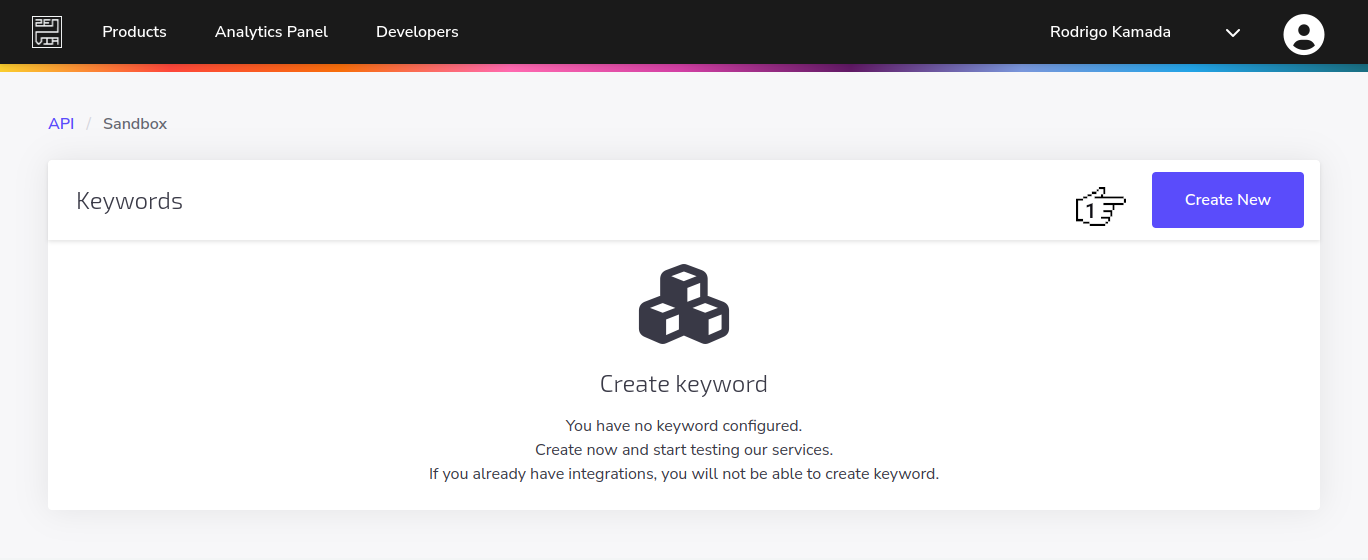
1. Let's create the Sandbox in the WhatsApp channel. We will click on the menu Developers and Sandbox.
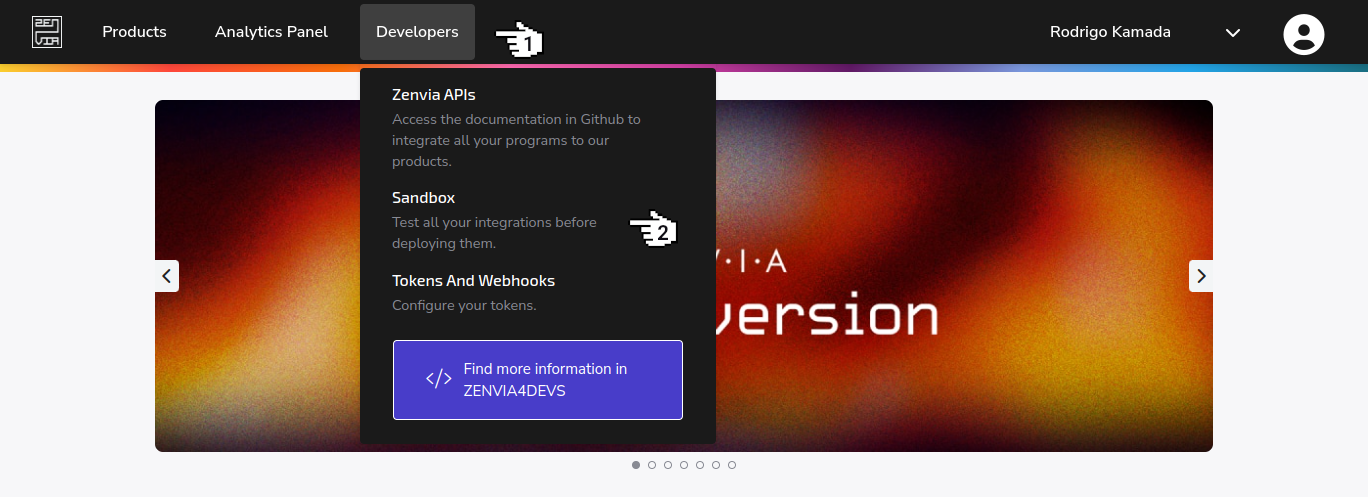
2. Now we will click on the button Create New.
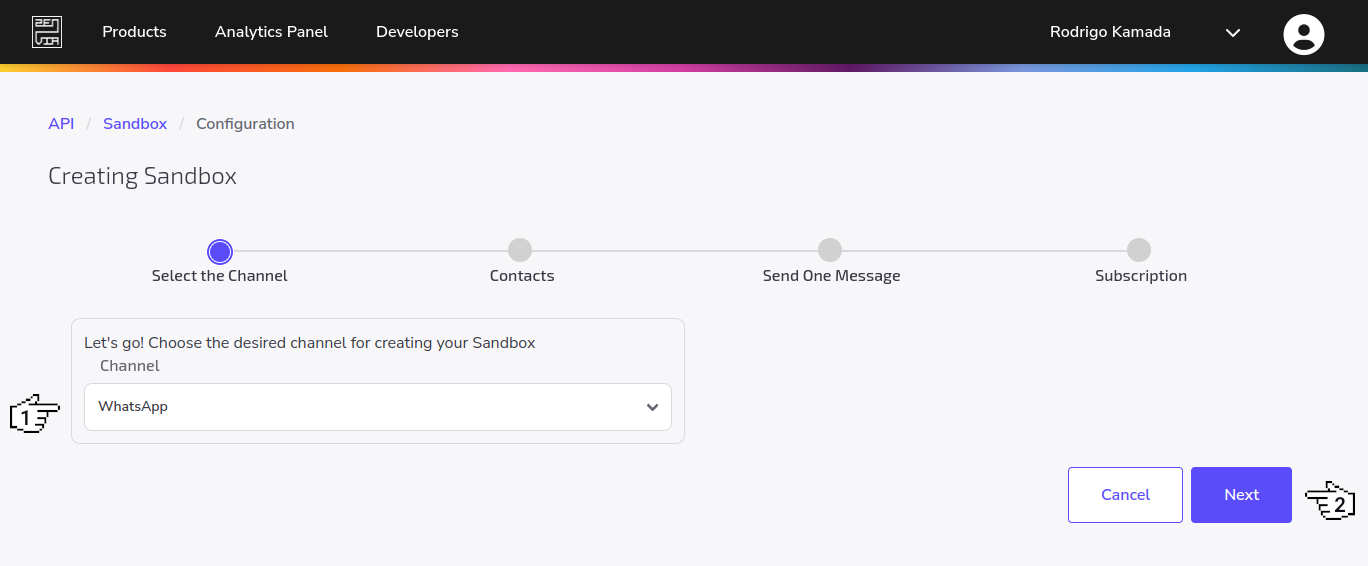
3. Next, we will select the option WhatsApp and click on the button Next.
4. After select the option WhatsApp, we will scan the QR Code or send the keyword wobbly-chatter to the number +551148377404 using your WhatsApp application. Another option is to access the URL https://wa.me/551148377404?text=wobbly-chatter using your mobile phone, as the WhatsApp application will open with the wobbly-chatter message to send to the number 551148377404.
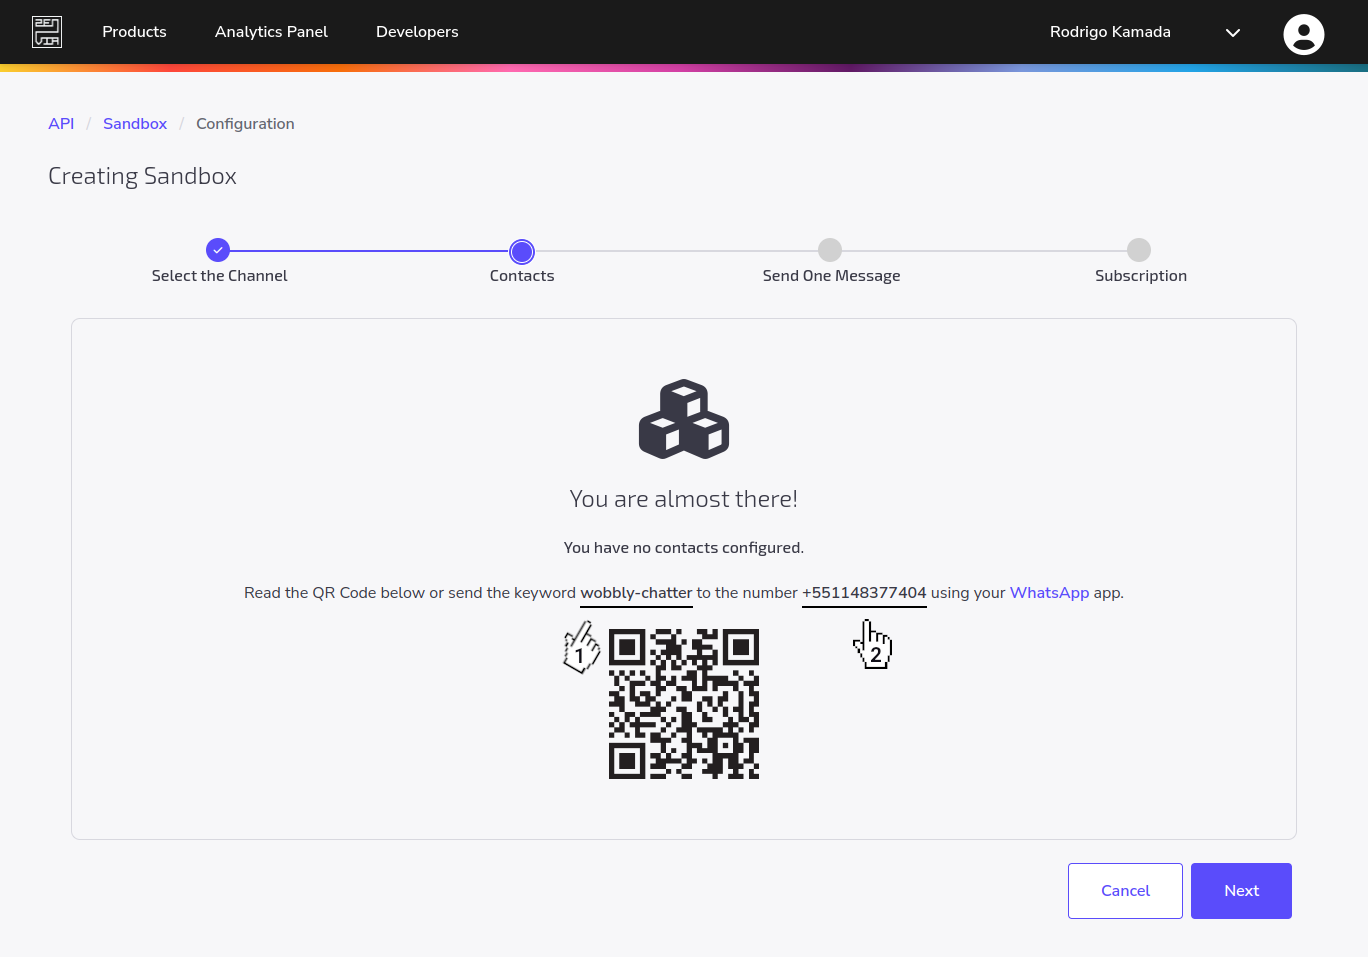
Notes:
- This word is automatically generated when a Sandbox is created, so another word will be generated when you get to this step.
- This registration is require for the Zenvia platform to register the number(s) you would like to test, making it impossible to send the message to any mobile phone.
- It is possible to register other numbers using the same process.

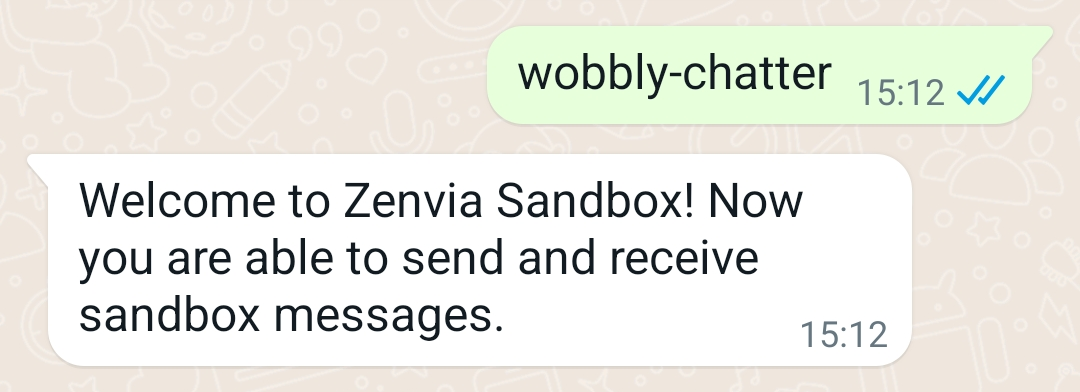
5. You will receive a message on your mobile phone confirming the registration of your number.
6. The number(s) registered will be displayed on the screen, as well as the limit of 200 messages in a 24-hour period. Now we will click on the button Next.
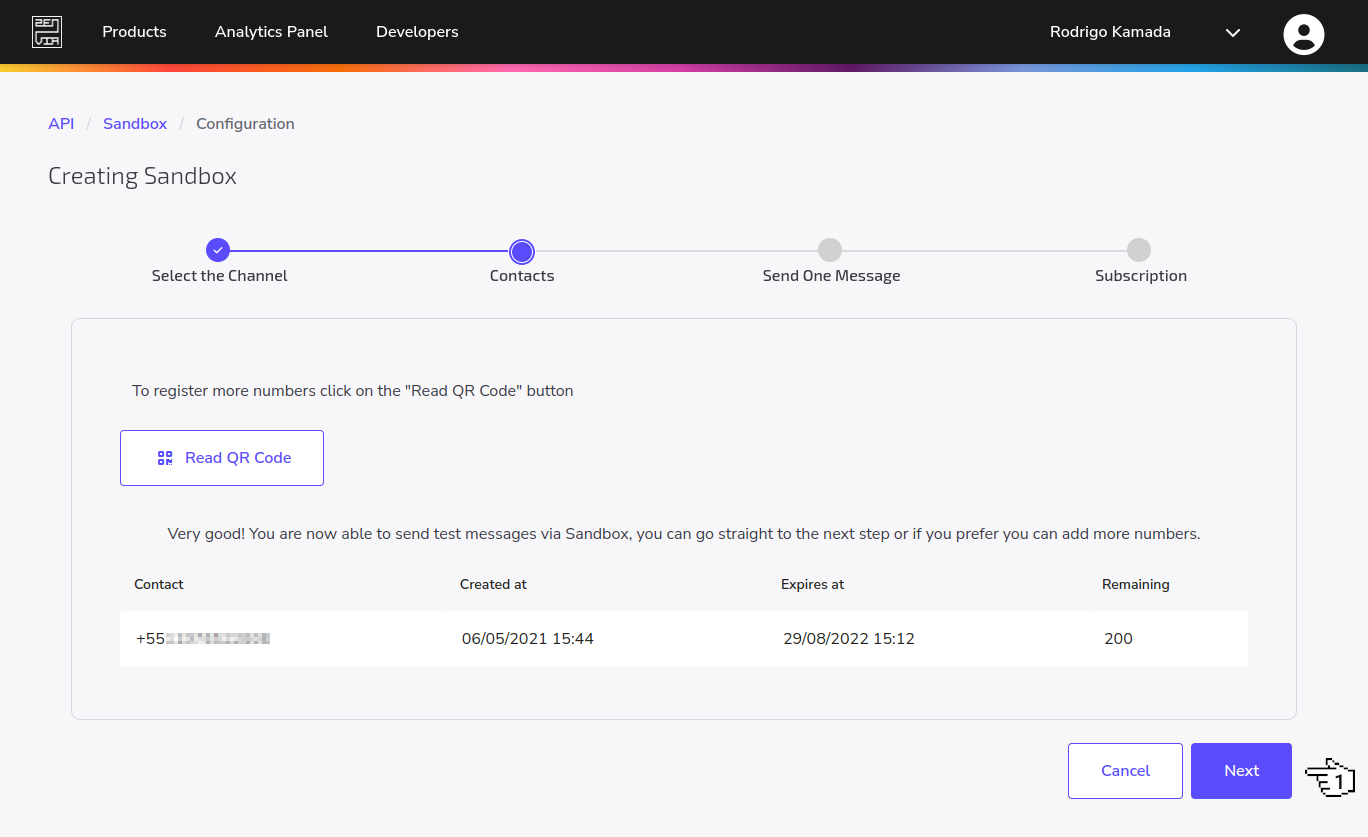
Note:
- When the 24 hour period is reached, register the number(s) again to start a new cycle of 200 messages in the 24 hour period. If you use the 200 messages, you will have to wait a period of 24 hours.
7. After register the number(s), we will test sending a text message. Select the number you want to send in the field To, fill in the message in the field Message and click on the button Send message. Copy the token in the parameter X-API-TOKEN and, in my case, the token UbH-3NSJMufN0VN5fejawn633zDGnXRiRhYI was generated because this token will be configured in the Node.js application. Click on the button Next.
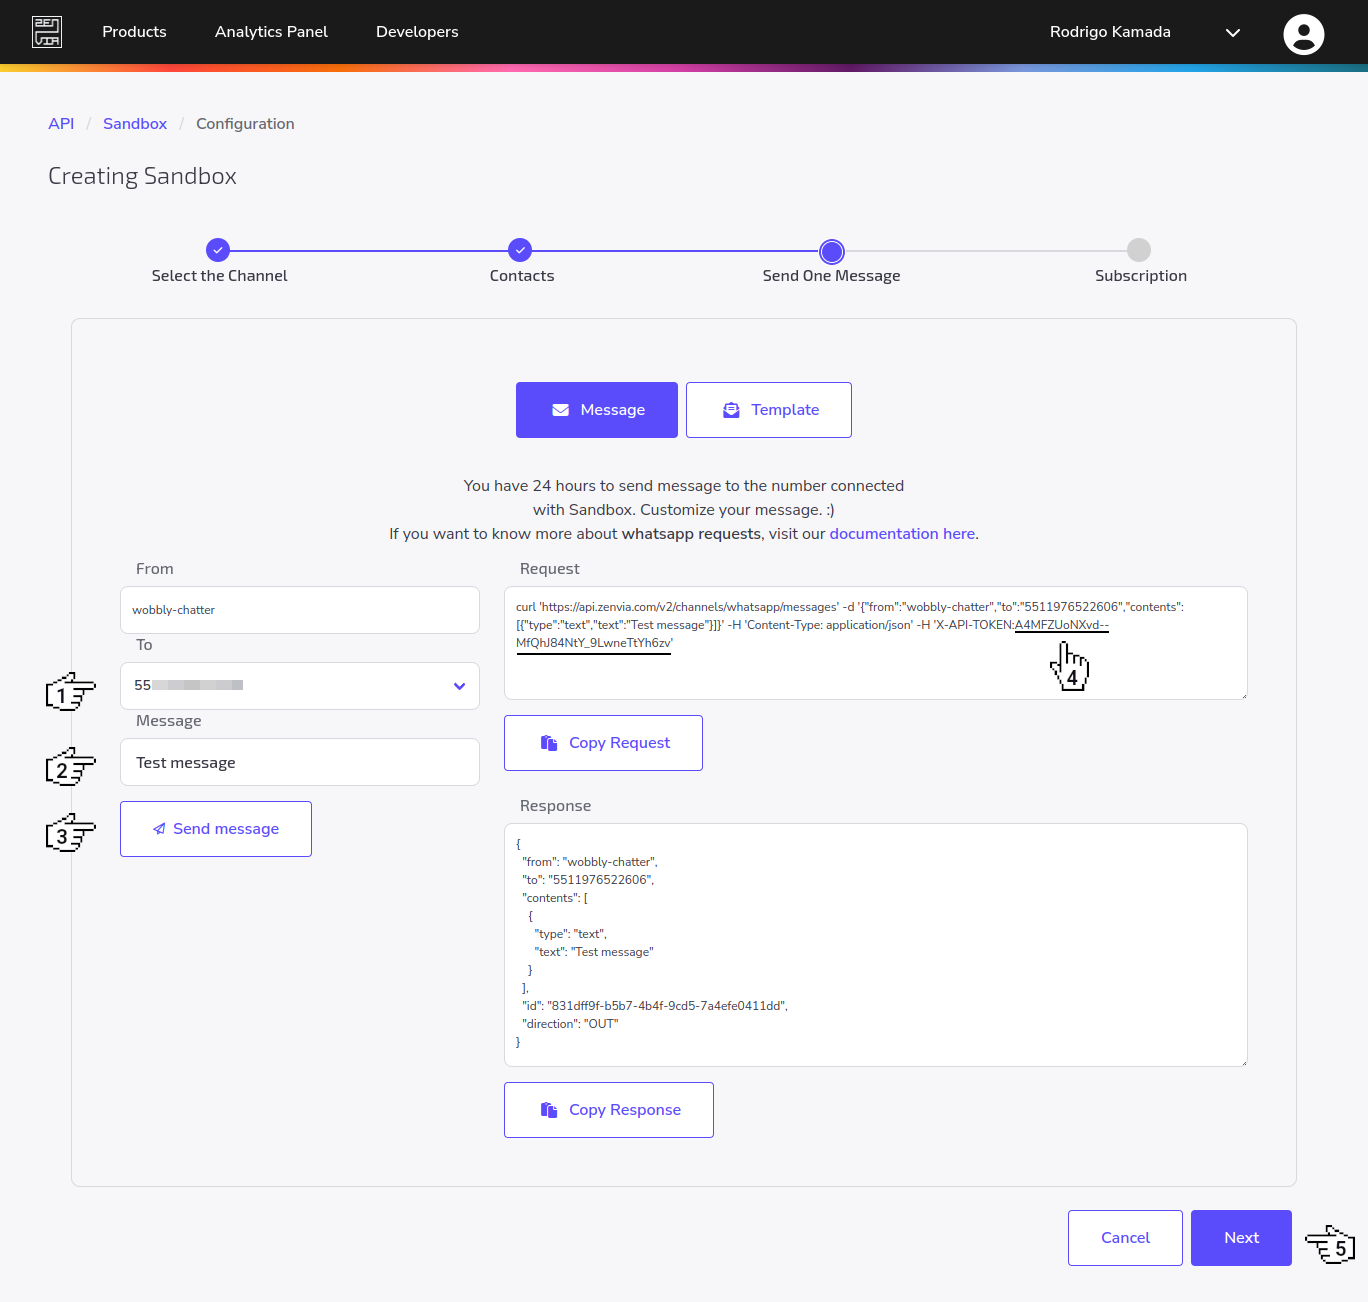
Notes:
- In the field From, as it is a Sandbox, a random word is created that corresponds to the integration identifier when the service is contracted.
- In the field Request, an example of a request using the curl tool is displayed. You can simulate this same request using other tools like Postman or Insomnia.
- In the field Response displays the request response in JSON format.
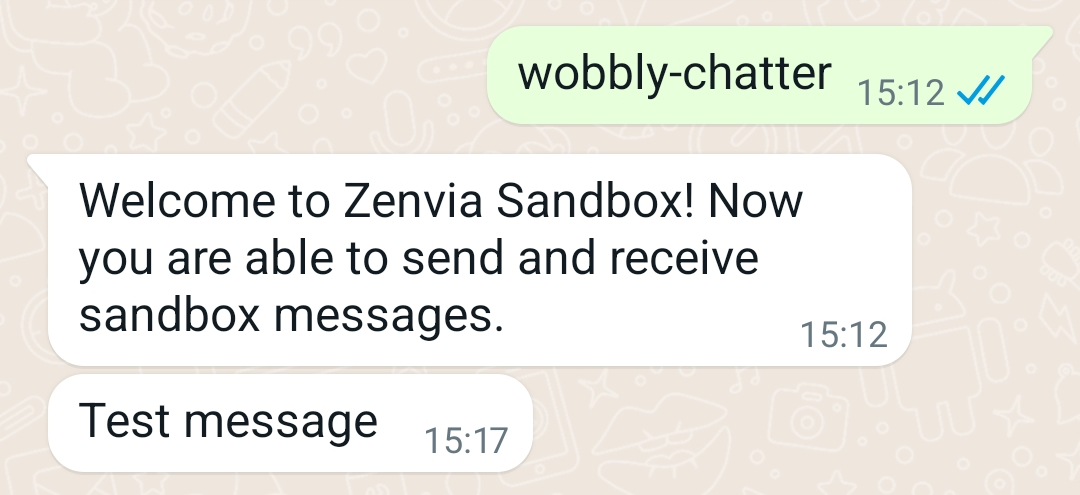
8. Next, the test message is sent to selected number.
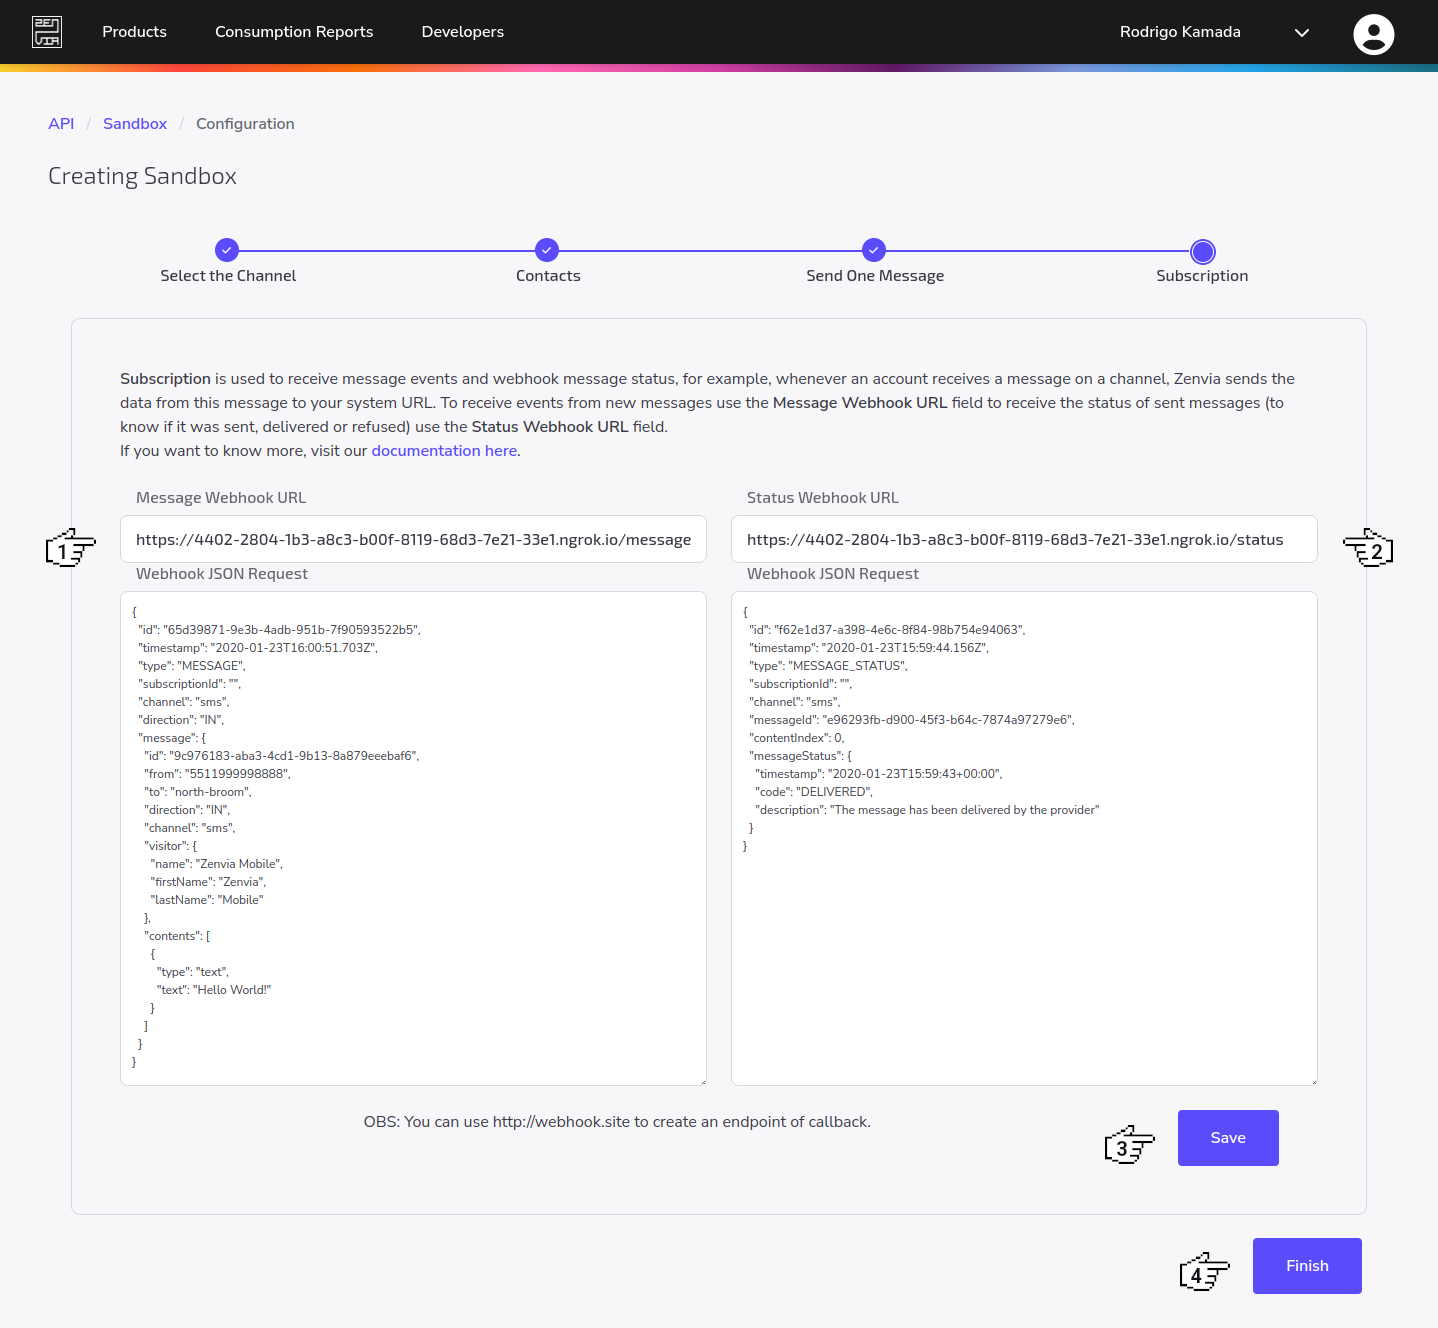
9. Now we will create a subscription to the webhook using the URL that was created on the ngrok platform. We will fill in the fields Message Webhook URL with the URL https://4402-2804-1b3-a8c3-b00f-8119-68d3-7e21-33e1.ngrok.io/message and Status Webhook URL with the URL https://4402-2804-1b3-a8c3-b00f-8119-68d3-7e21-33e1.ngrok.io/status and click on the buttons Save and Finish.
10. Ready! Sandbox created for the WhatsApp channel, number configured and token generated. API documentation is available at https://zenvia.github.io/zenvia-openapi-spec/.
Create an account on the AudD platform
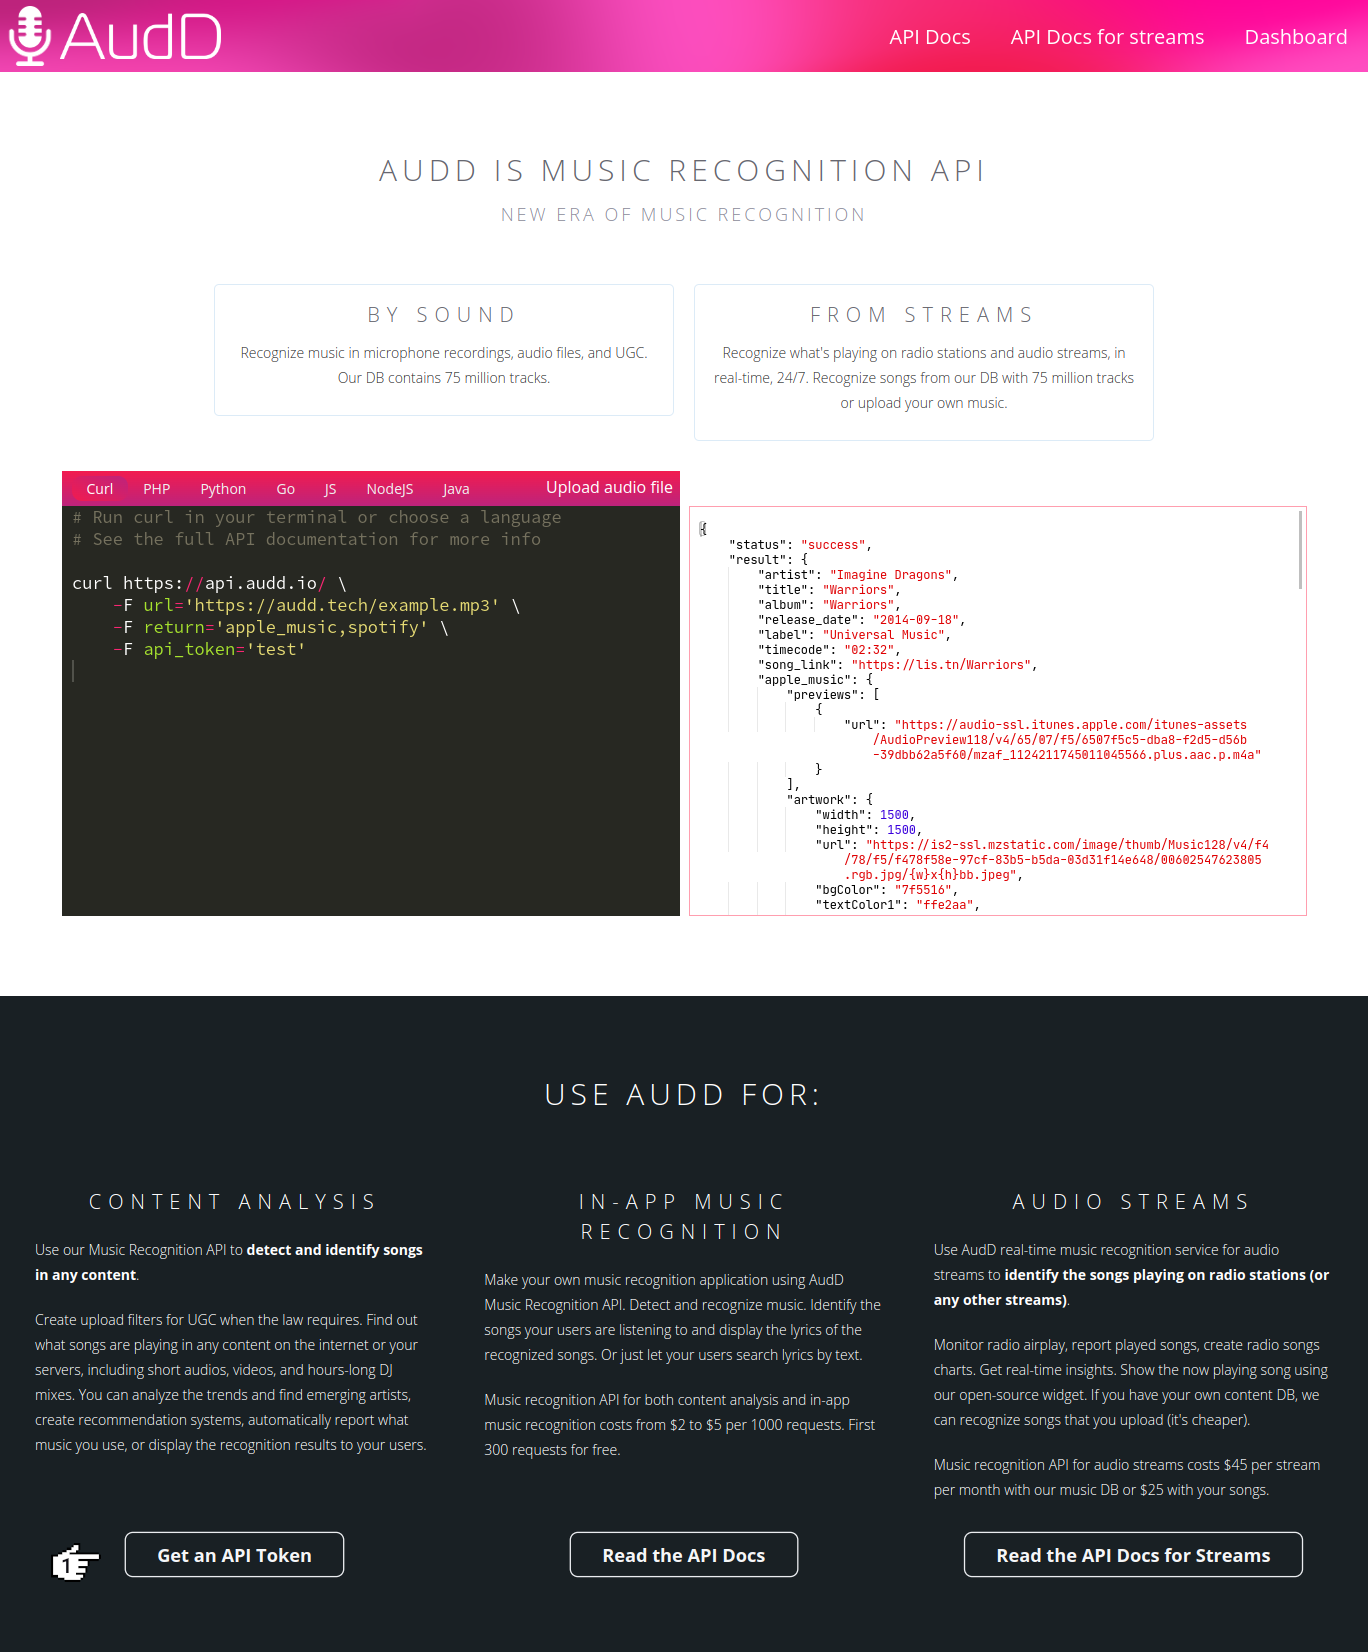
AudD is a service that allows you to recognize a music using an API.
1. Let's create the account. We will access the site https://audd.io and click on the button Get an API Token.
2. Now we will click on the link Sign up.
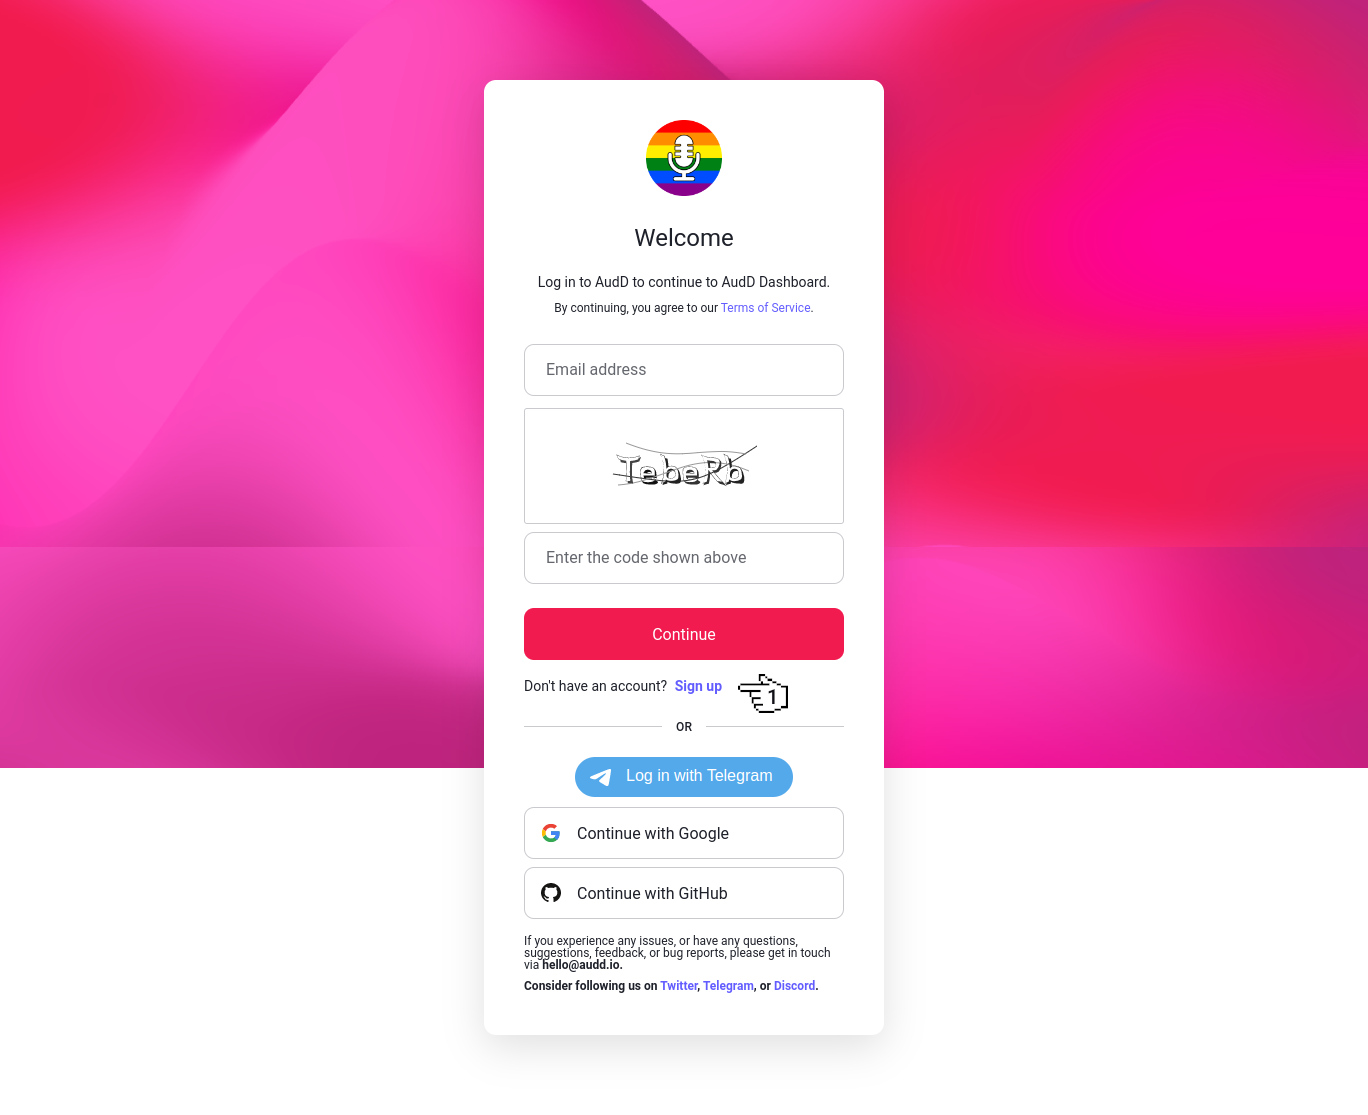
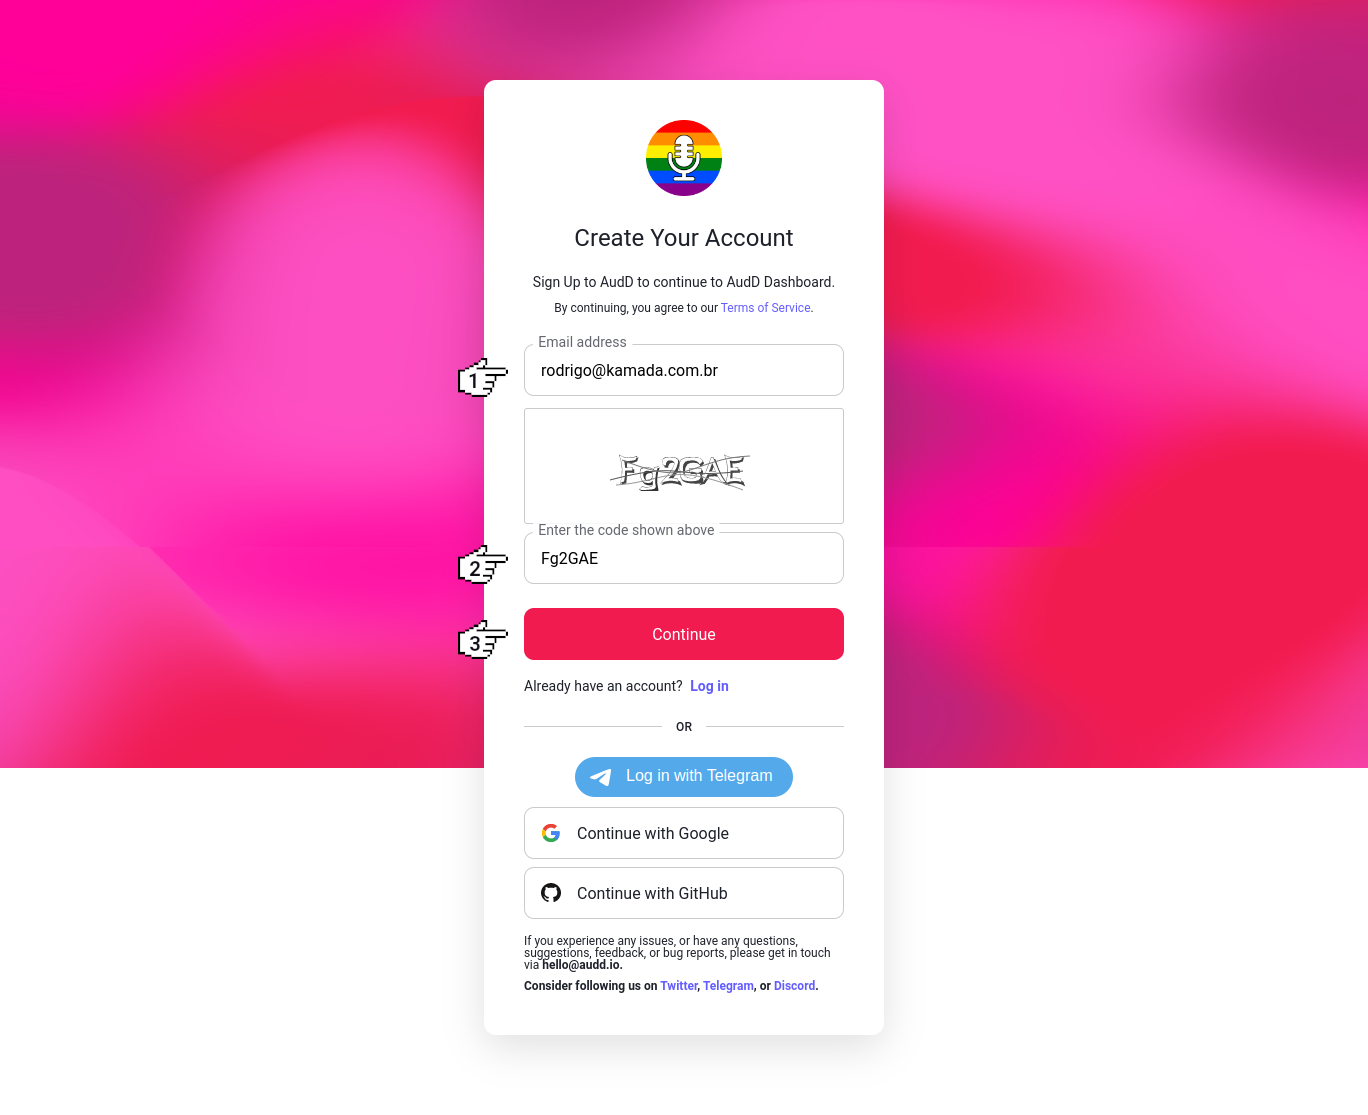
3. Next, we will fill in the fields Email address, Enter the code shown above and click on the button Continue. You can also login with Telegram, Google or GitHub social login.
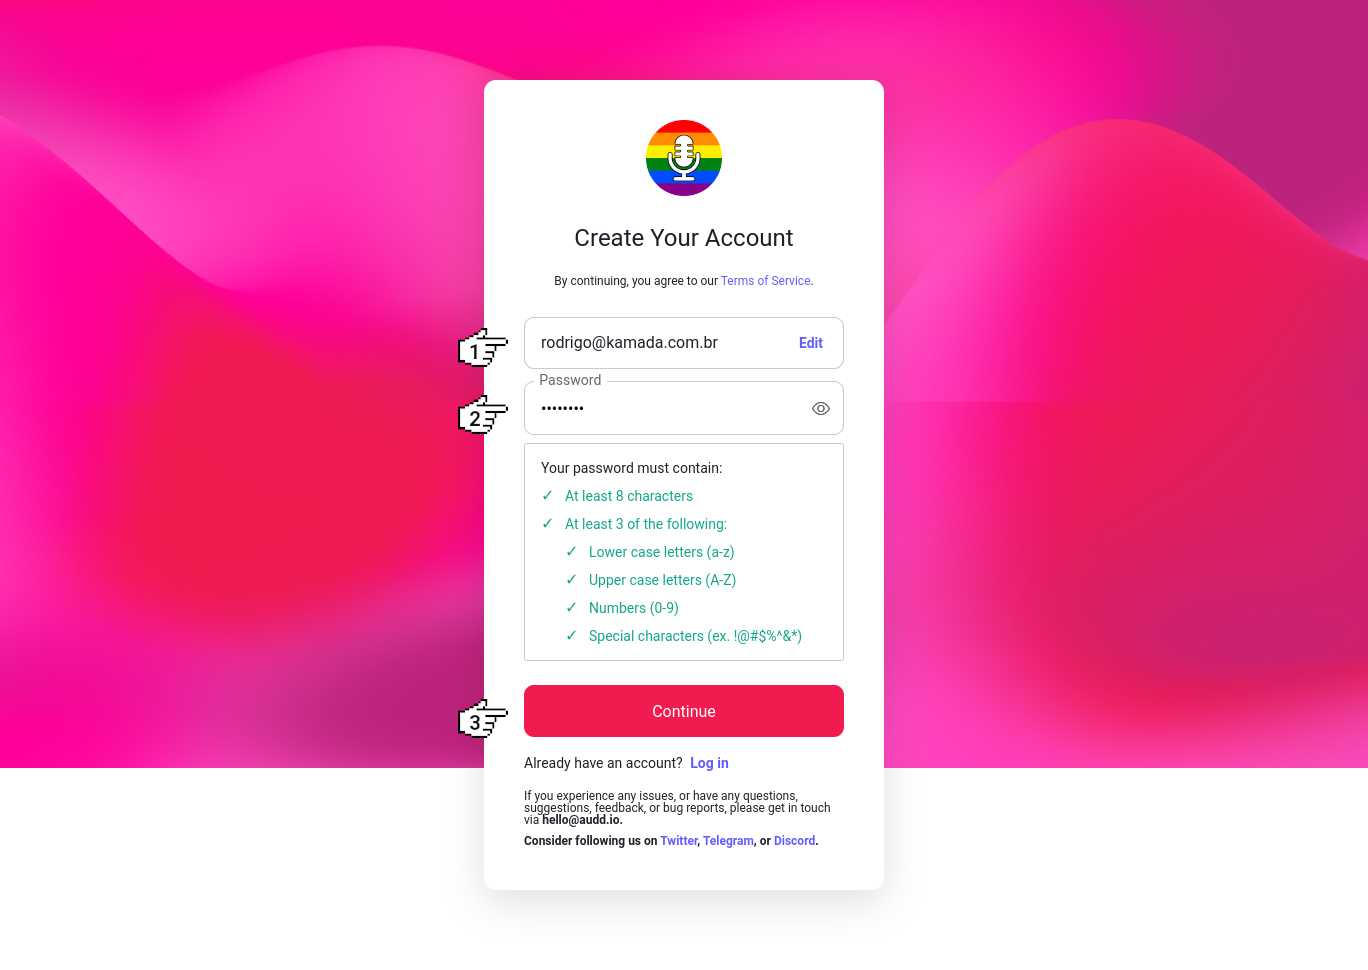
4. Then, we will fill in the field Password and click on the button Continue.
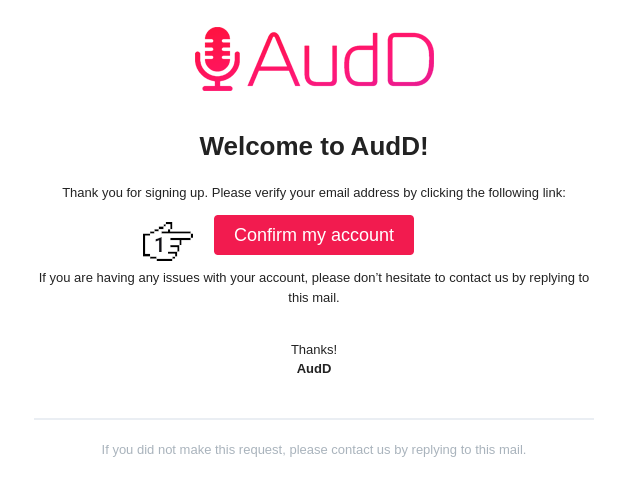
5. After create the account, we will check the registered email. We will click on the button Confirm my account in the email sent.
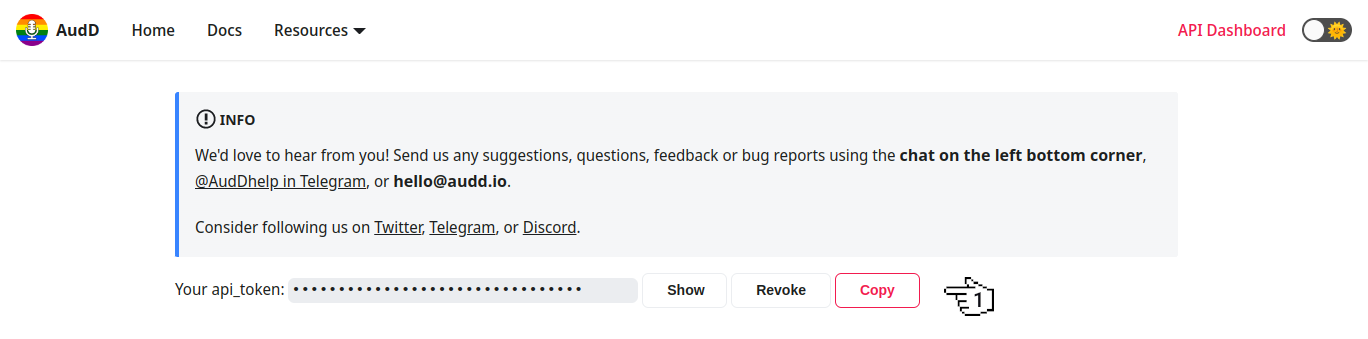
6. Now we will click on the button Copy to copy the token generated because this token will be configured in the Node.js application.
7. Ready! Your account was created and the token was generated. API documentation is available at https://docs.audd.io/.
Create the Node.js application
Node.js is open source, cross-platform software that runs JavaScript code on the server. It is based on Google's V8 JavaScript interpreter.
1. Let's create the application. We will create the application folder.
mkdir chatbot-whatsapp
cd chatbot-whatsapp
2. Now we will create the file package.json. The option -y allows the file to be created without the questions, such as application name, version, among others.
npm init -y
3. Next, we will install the dependencies dotenv, express, got and @zenvia/sdk.
npm install dotenv express got @zenvia/sdk
4. After install the dependencies, we will create the file .env.
touch .env
5. Now we will add the tokens created on the platforms Zenvia and AudD in the file .env as below.
ZENVIA_TOKEN=gSTuqxR2rsXY-UJGzdXFMWv-uvp7DKPtGLzq
AUDD_TOKEN=311207449541d9dbd7f7bc9a52680e57
6. Next, we will create the folder src and create the file index.js inside the folder src.
mkdir src
touch src/index.js
7. After create the folder and the file, we will add the content below in the file src/index.js, where when receiving a message, the application will send a message with the content Tested.
const dotenv = require('dotenv');
const { Client, TextContent, WebhookController } = require('@zenvia/sdk');

dotenv.config();

const client = new Client(process.env.ZENVIA_TOKEN);

const whatsapp = client.getChannel('whatsapp');

const webhook = new WebhookController({
  messageEventHandler: (messageEvent) => {
    console.log('Message event:', messageEvent);

    const content = new TextContent('Tested');

    whatsapp.sendMessage(messageEvent.message.to, messageEvent.message.from, content)
    .then(response => {
      console.log('Response:', response);
    });
  },
  channel: 'whatsapp',
});

webhook.on('listening', () => {
  console.log('Webhook is listening');
});

webhook.init();
8. Now we will run the application with the command below.
node src/index.js
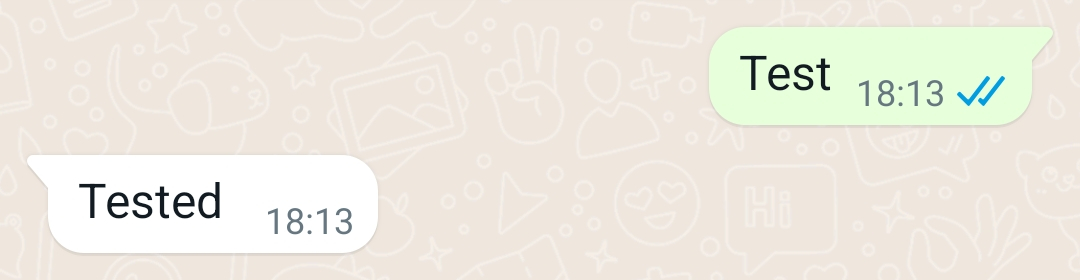
9. Next, we will test the integration with the Zenvia platform. We will send a test message using the registered mobile phone. You should get the message with the content Tested.
10. After create and test the sending and receiving of text messages, we will change the content of the file src/index.js to improve the application, search the music recognition and send the content of the audio and image type.
const dotenv = require('dotenv');
const got = require('got');
const FormData = require('form-data');
const { Client, FileContent, TextContent, WebhookController } = require('@zenvia/sdk');

dotenv.config();

const client = new Client(process.env.ZENVIA_TOKEN);

const whatsapp = client.getChannel('whatsapp');

const webhook = new WebhookController({
  channel: 'whatsapp',
  messageEventHandler: async (messageEvent) => {
    let content = [new TextContent('Tested')];

    if (messageEvent.message.contents[0].type === 'file' && messageEvent.message.contents[0].fileMimeType.includes('audio')) {
      const music = await recognizeMusic(messageEvent.message.contents[0].fileUrl);

      if (music) {
        let text = '';
        if (music.artist) {
          text = `${text}Artist: *${music.artist}*\n`;
        }
        if (music.title) {
          text = `${text}Title: *${music.title}*\n`;
        }
        if (music.album) {
          text = `${text}Album: *${music.album}*\n`;
        }
        content = [new TextContent(text)];
        if (music.deezer && music.deezer.picture) {
          content.push(new FileContent(music.deezer.picture, 'image/jpeg'));
        }
        if (music.deezer && music.deezer.preview) {
          content.push(new FileContent(music.deezer.preview, 'audio/mpeg'));
        }
      } else {
        content = [new TextContent('Could not identify the music from the audio.')];
      }
    }

    whatsapp.sendMessage(messageEvent.message.to, messageEvent.message.from, ...content)
    .then((response) => {
      console.debug('Response:', response);
    });
  },
});

webhook.on('listening', () => {
  console.info('Webhook is listening');
});

webhook.init();

const recognizeMusic = async (url) => {
  const form = new FormData();
  form.append('api_token', process.env.AUDD_TOKEN);
  form.append('url', url);
  form.append('return', 'deezer');

  const response = await got.post('https://api.audd.io/', {
    body: form,
    responseType: 'json',
    resolveBodyOnly: true,
  });

  if (response && response.result) {
    return {
      artist: response.result.artist,
      title: response.result.title,
      album: response.result.album,
      deezer: {
        picture: response.result.deezer && response.result.deezer.artist ? response.result.deezer.artist.picture_medium : undefined,
        preview: response.result.deezer ? response.result.deezer.preview : undefined,
      },
    };
  }
};
11. Now we will run the application again with the command below.
node src/index.js
12. Next, we will test the integration with the Zenvia and AudD platforms. We will send the audio of a music. We will click and hold the button Record to record 5 seconds of a music.
13. After send the audio of a music, the application will receive the audio file, search the music recognition and if the music is recognized, the application will send a text message with the music information such as artist, title and album and two others image and audio messages with 30 seconds of music.

14. Ready! We tested the application with sending and receiving text, image and audio messages using the mobile phone and music recognition.
The application repository is available at https://github.com/rodrigokamada/chatbot-whatsapp-music.
Conclusion
In summary, the following topics were covered in this article:
- We created an account on the ngrok platform.
- We installed and configureed the ngrok platform tool.
- We created an account on the Zenvia platform.
- We created the sandbox on the Zenvia platform on the WhatsApp channel.
- We created an account on the AudD platform.
- We created an Node.js application.
- We tested sending and receiving text, image and audio messages on the WhatsApp channel using the mobile phone and music recognition.
You can use this article to create an application using JavaScript and Node.js, send and receive messages from WhatsApp channel using Zenvia platform and music recognition using AudD platform.
Thank you for reading and I hope you enjoyed the article!
This tutorial was posted on my blog in portuguese.
To stay updated whenever I post new articles, follow me on Twitter and LinkedIn.


